If you’re interested in what others have been building with the OpenWeedLocator, I thought I would share the variety of different builds I have either made or seen over the years. Some have been posted on the original Github Discussions page, others on LinkedIn, Twitter or Bluesky. Sources to the original images/videos are provided where possible. If you make something, make sure you start your own topic or add to the list here!
How it started
The very first OpenWeedLocator mounted on ‘Gordon’ the first robot I built. Incredibly basic to where it has ended up today!

Robot-mounted
Amiga (Texas)
A research platform at Texas A&M University. Check out the video from Prof. Muthukumar Bagavathiannan here (image taken from this video).

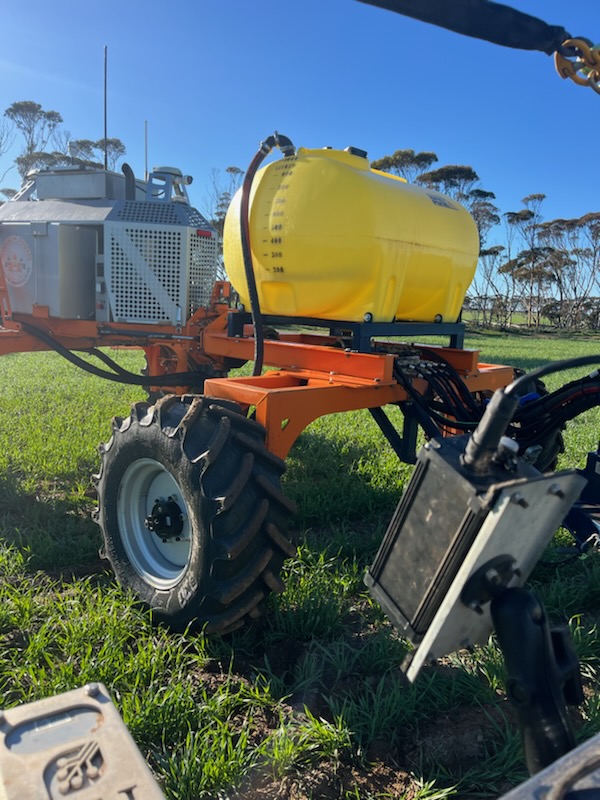
SwarmFarm (AUS)
An OWL for data collection with the global shutter camera. It has been mounted on this equipment for almost two years now and collected upwards of 1TB of data. Read more about this collaboration with Terry Antonio and the Esperance Zone Innovation Group here.
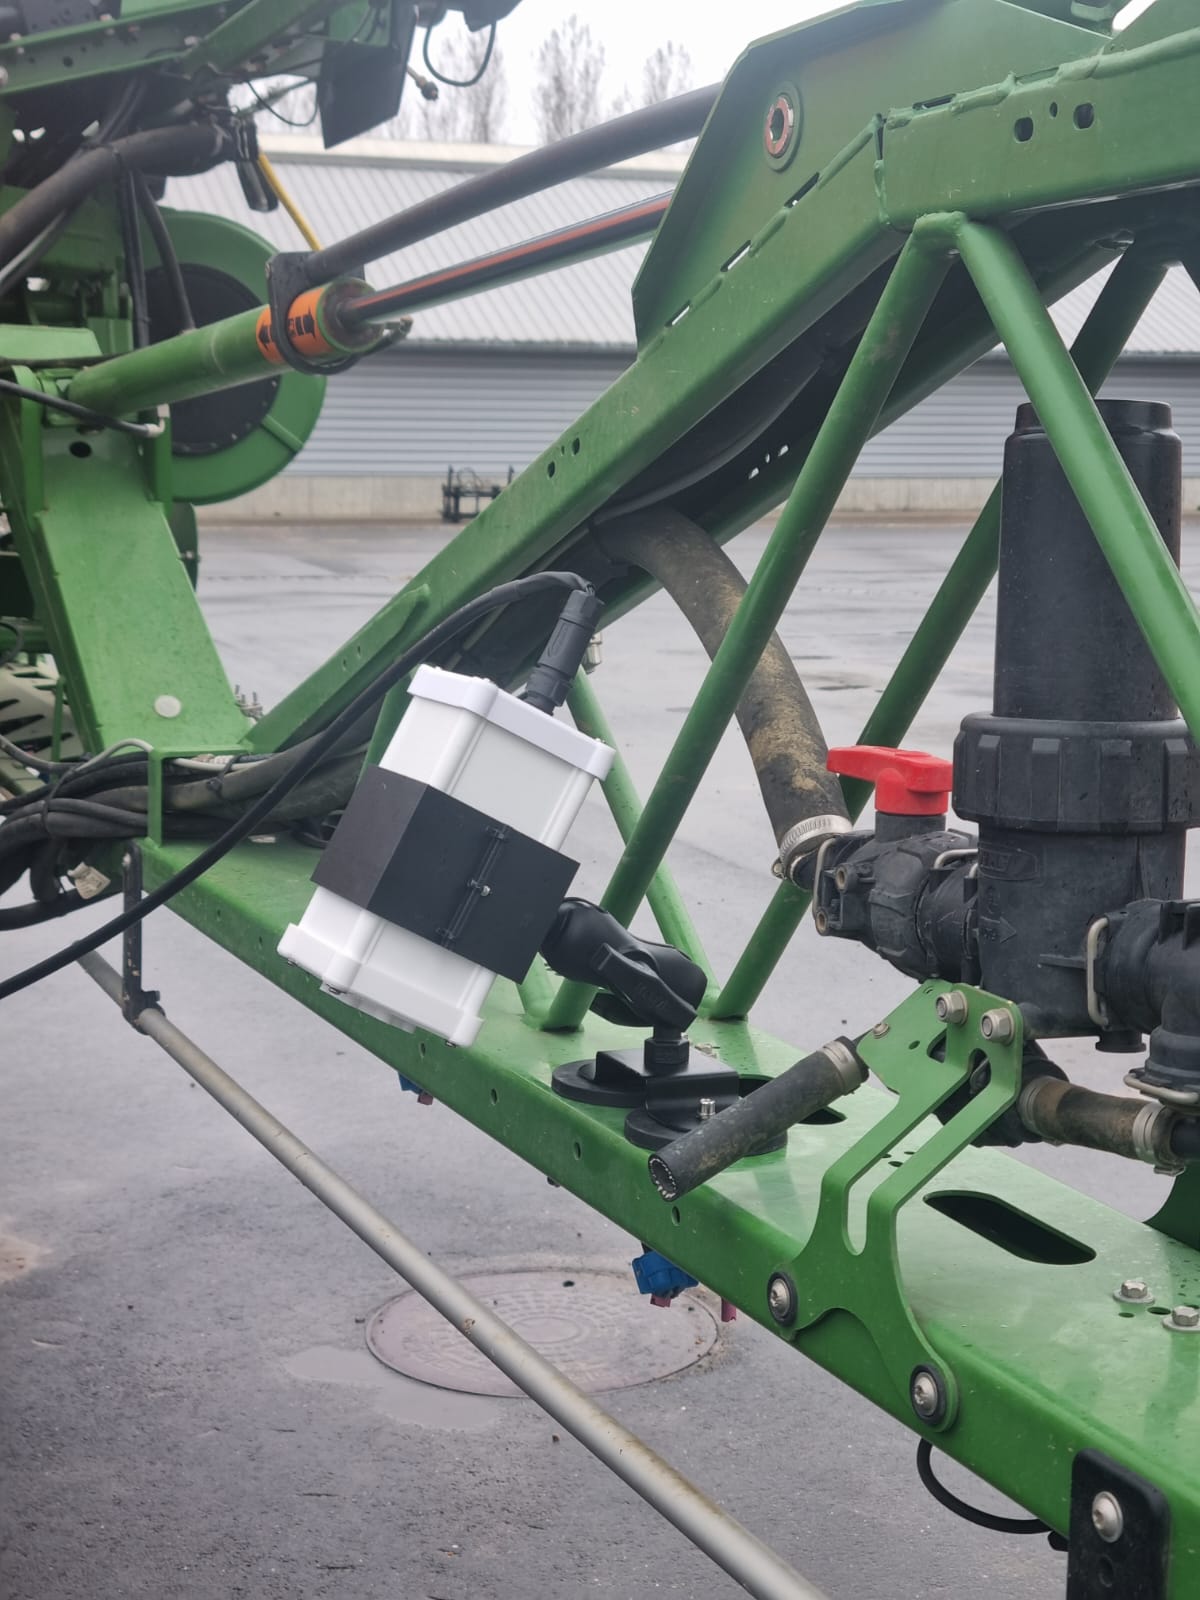
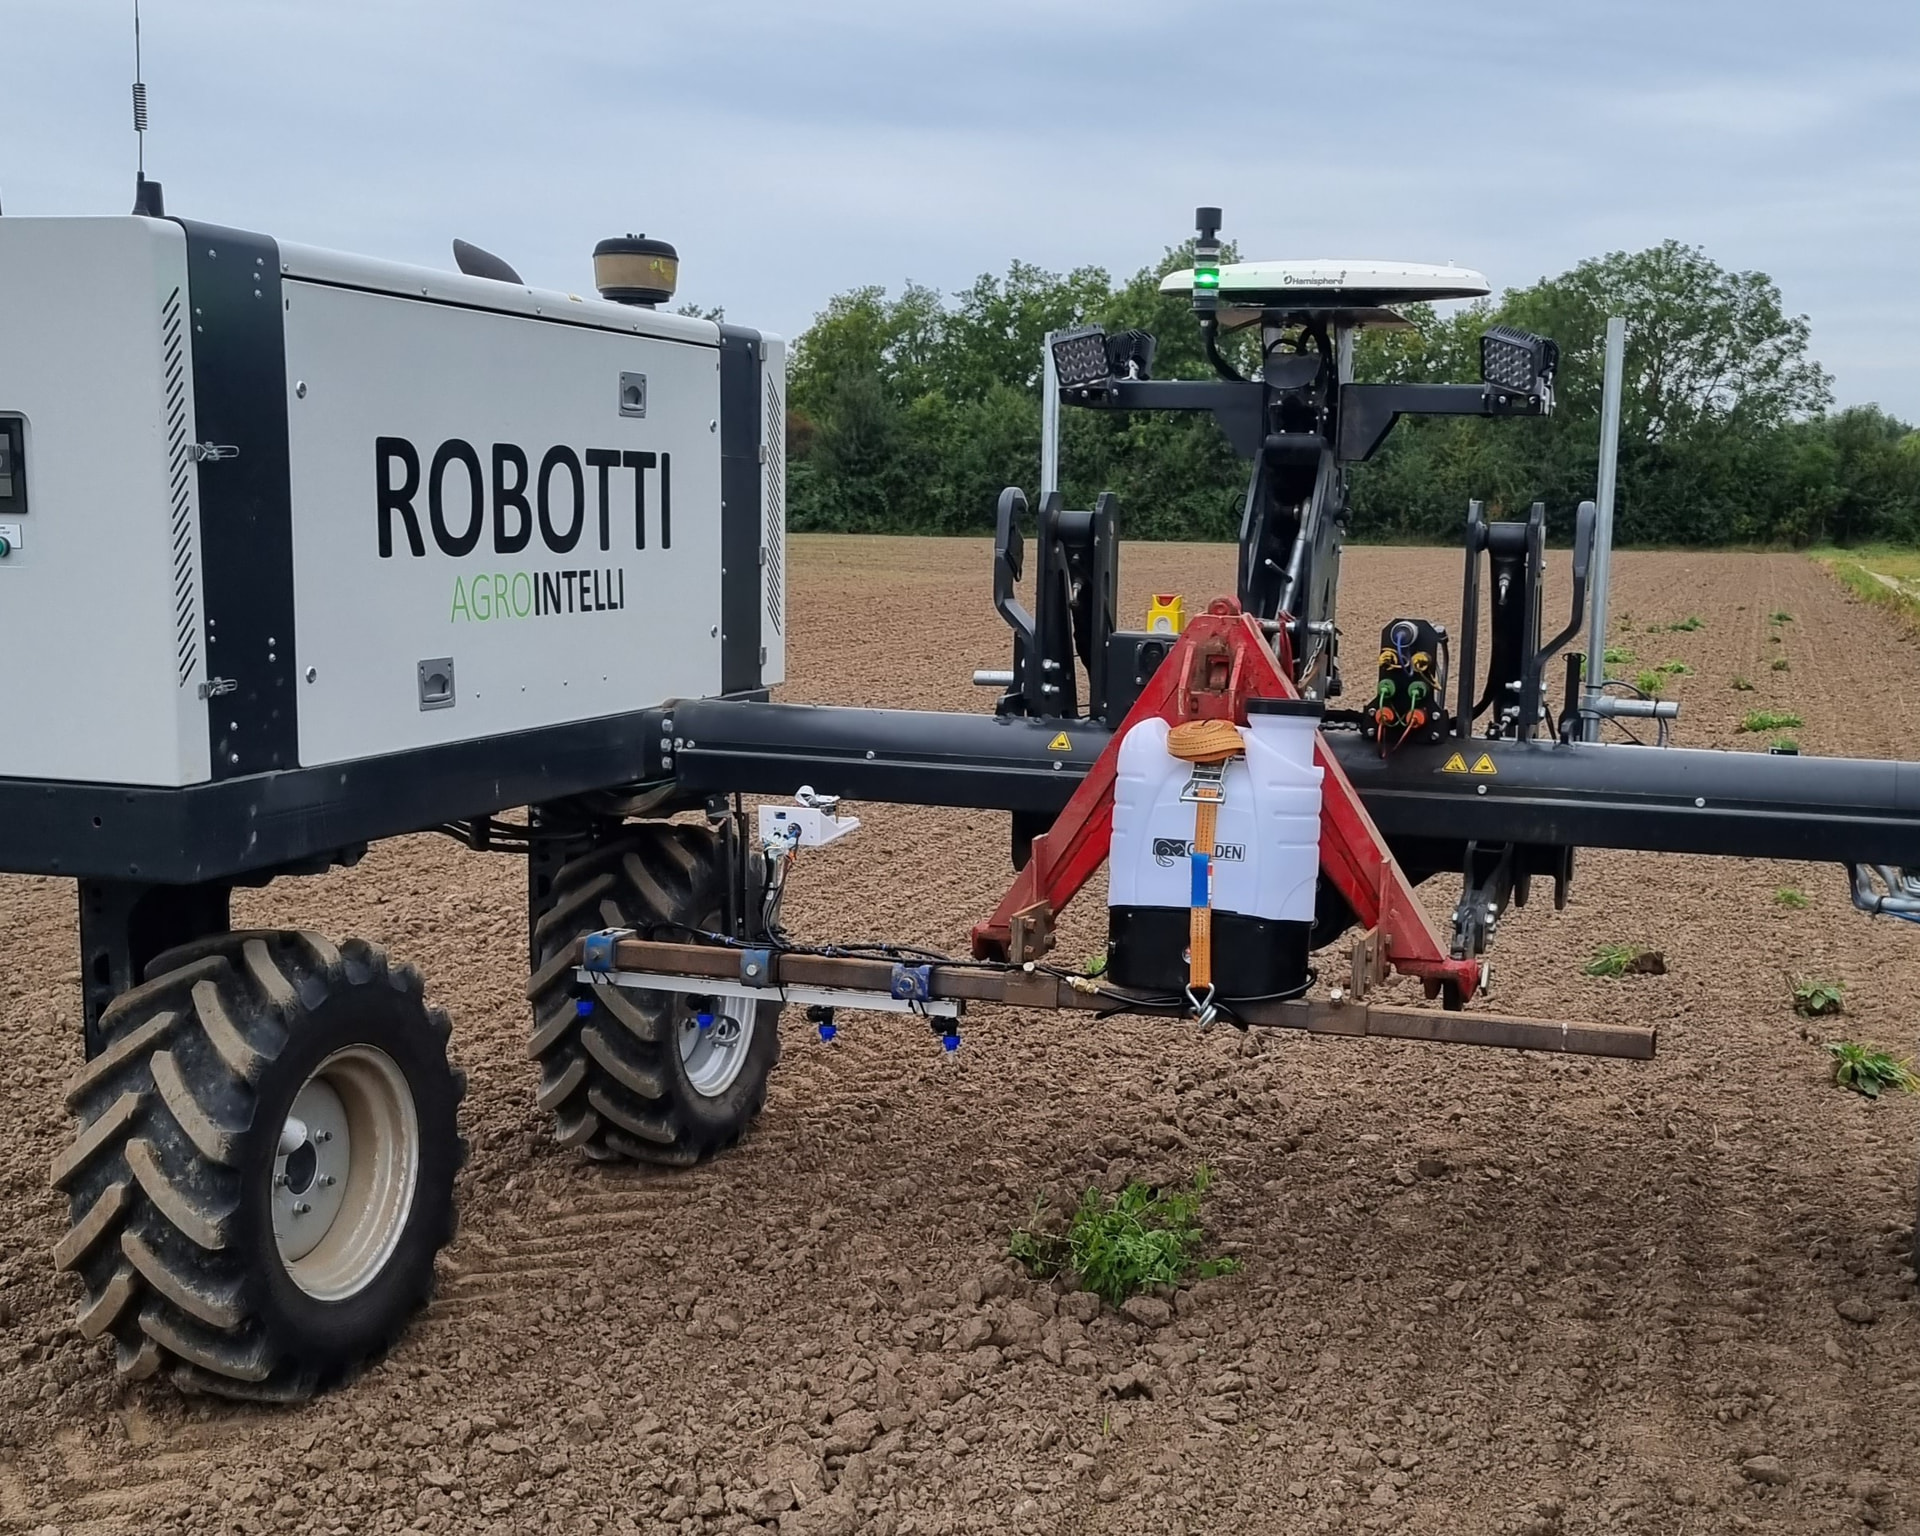
Agrointelli - Robotti (DK)
Another demo system in Denmark using the 12V backpack sprayer
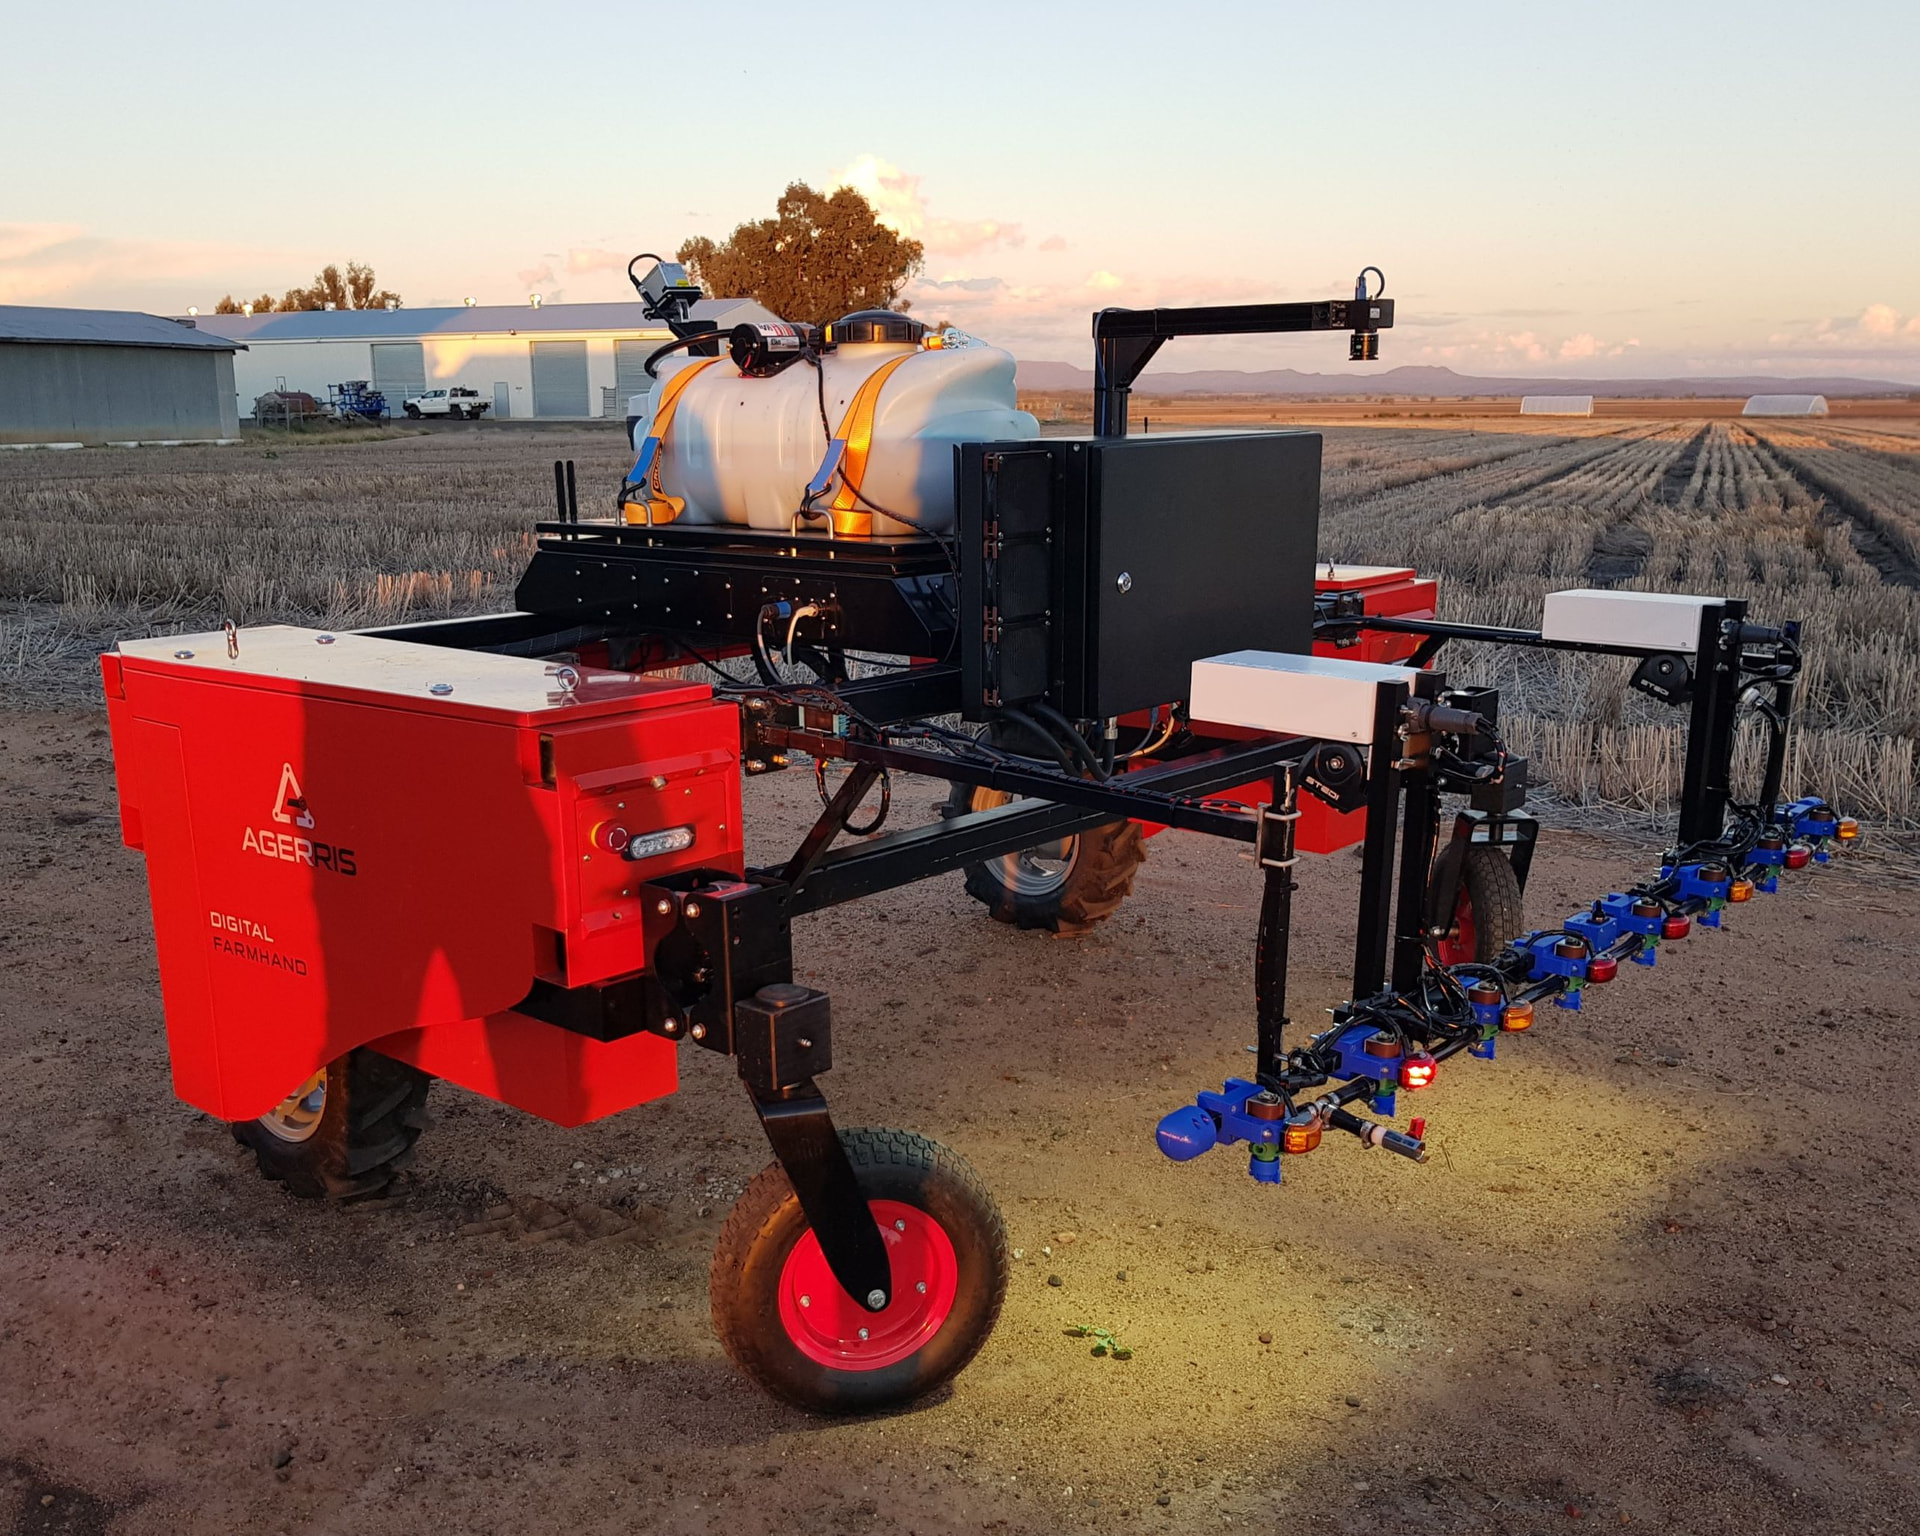
Agerris (AUS)
One of the first OWL systems, mounted on an Agerris robot at the University of Sydney. Same design as the ute setup below.
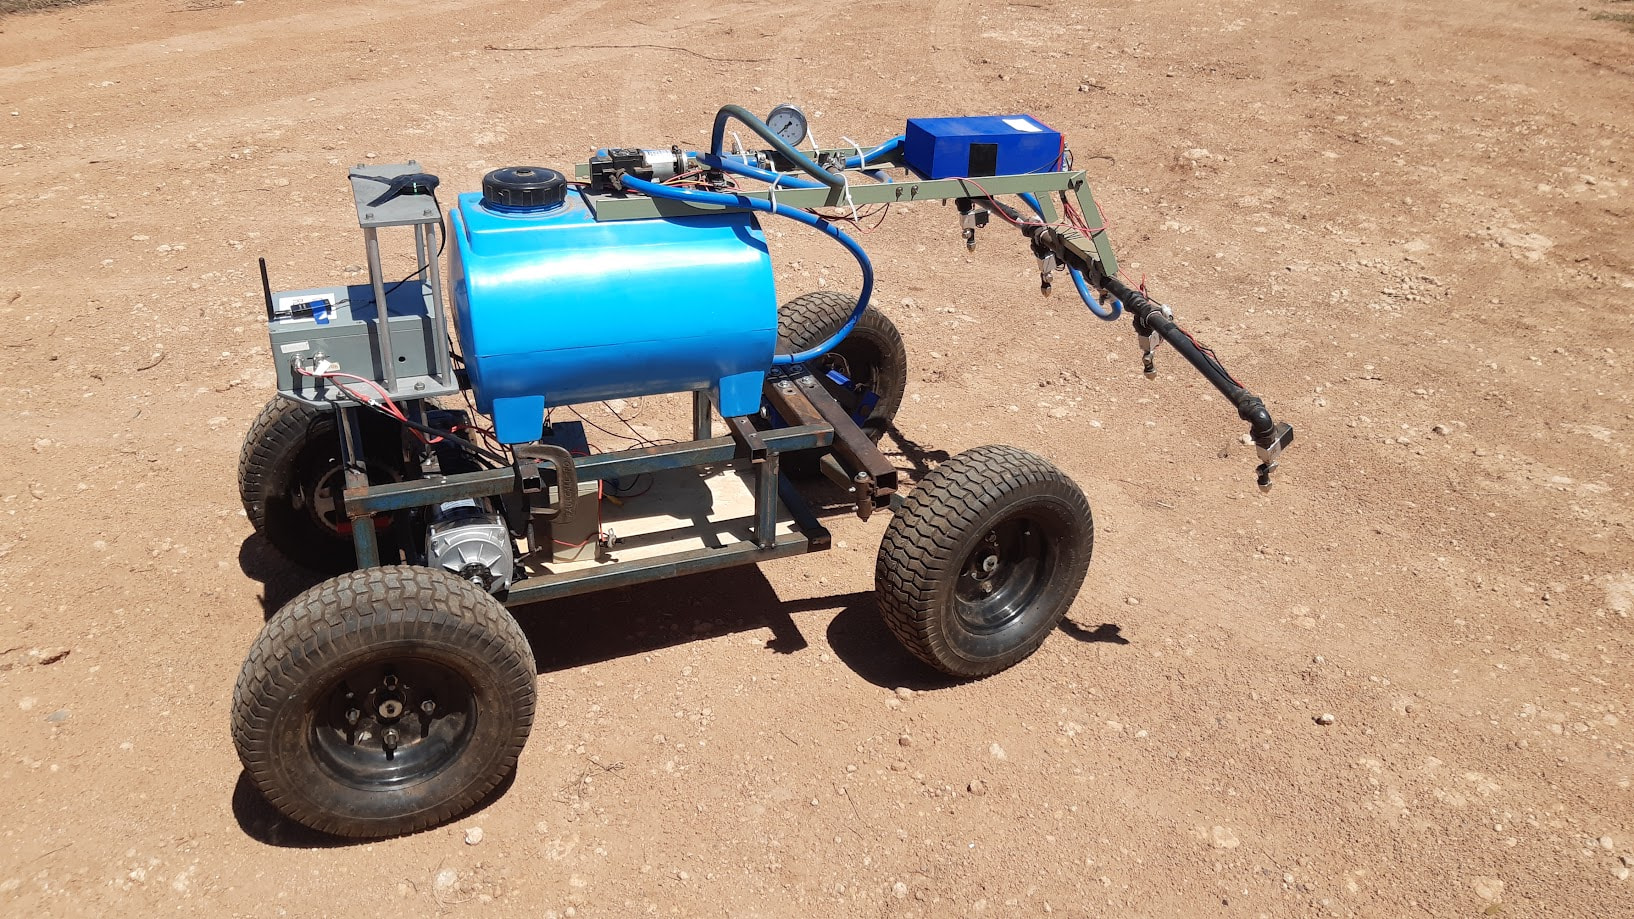
Homemade Robot
A robot built by a Merbein Robotics in Australia. See the original post on Github.
Utes
Ute - 2m system (AUS)
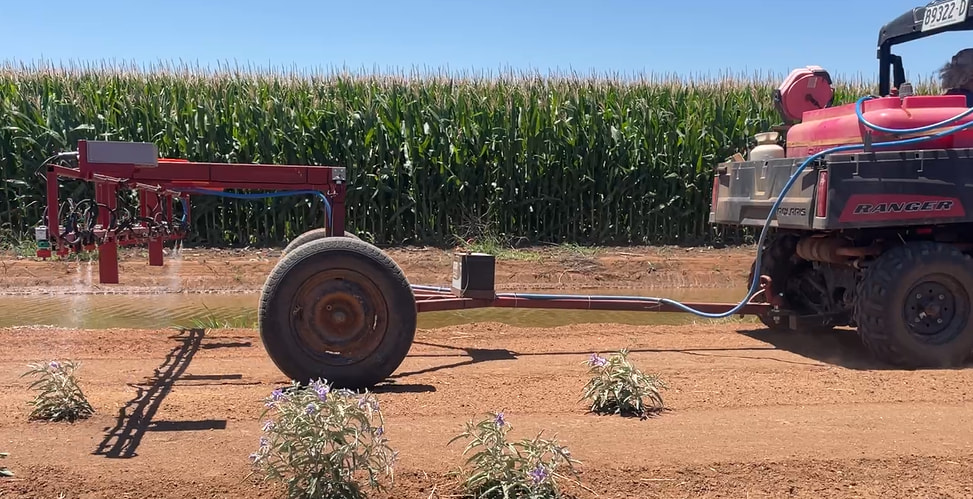
A 2m system with Goyen solenoids on the back of a Ford Ranger at the University of Sydney. You can see it in action at this video here.
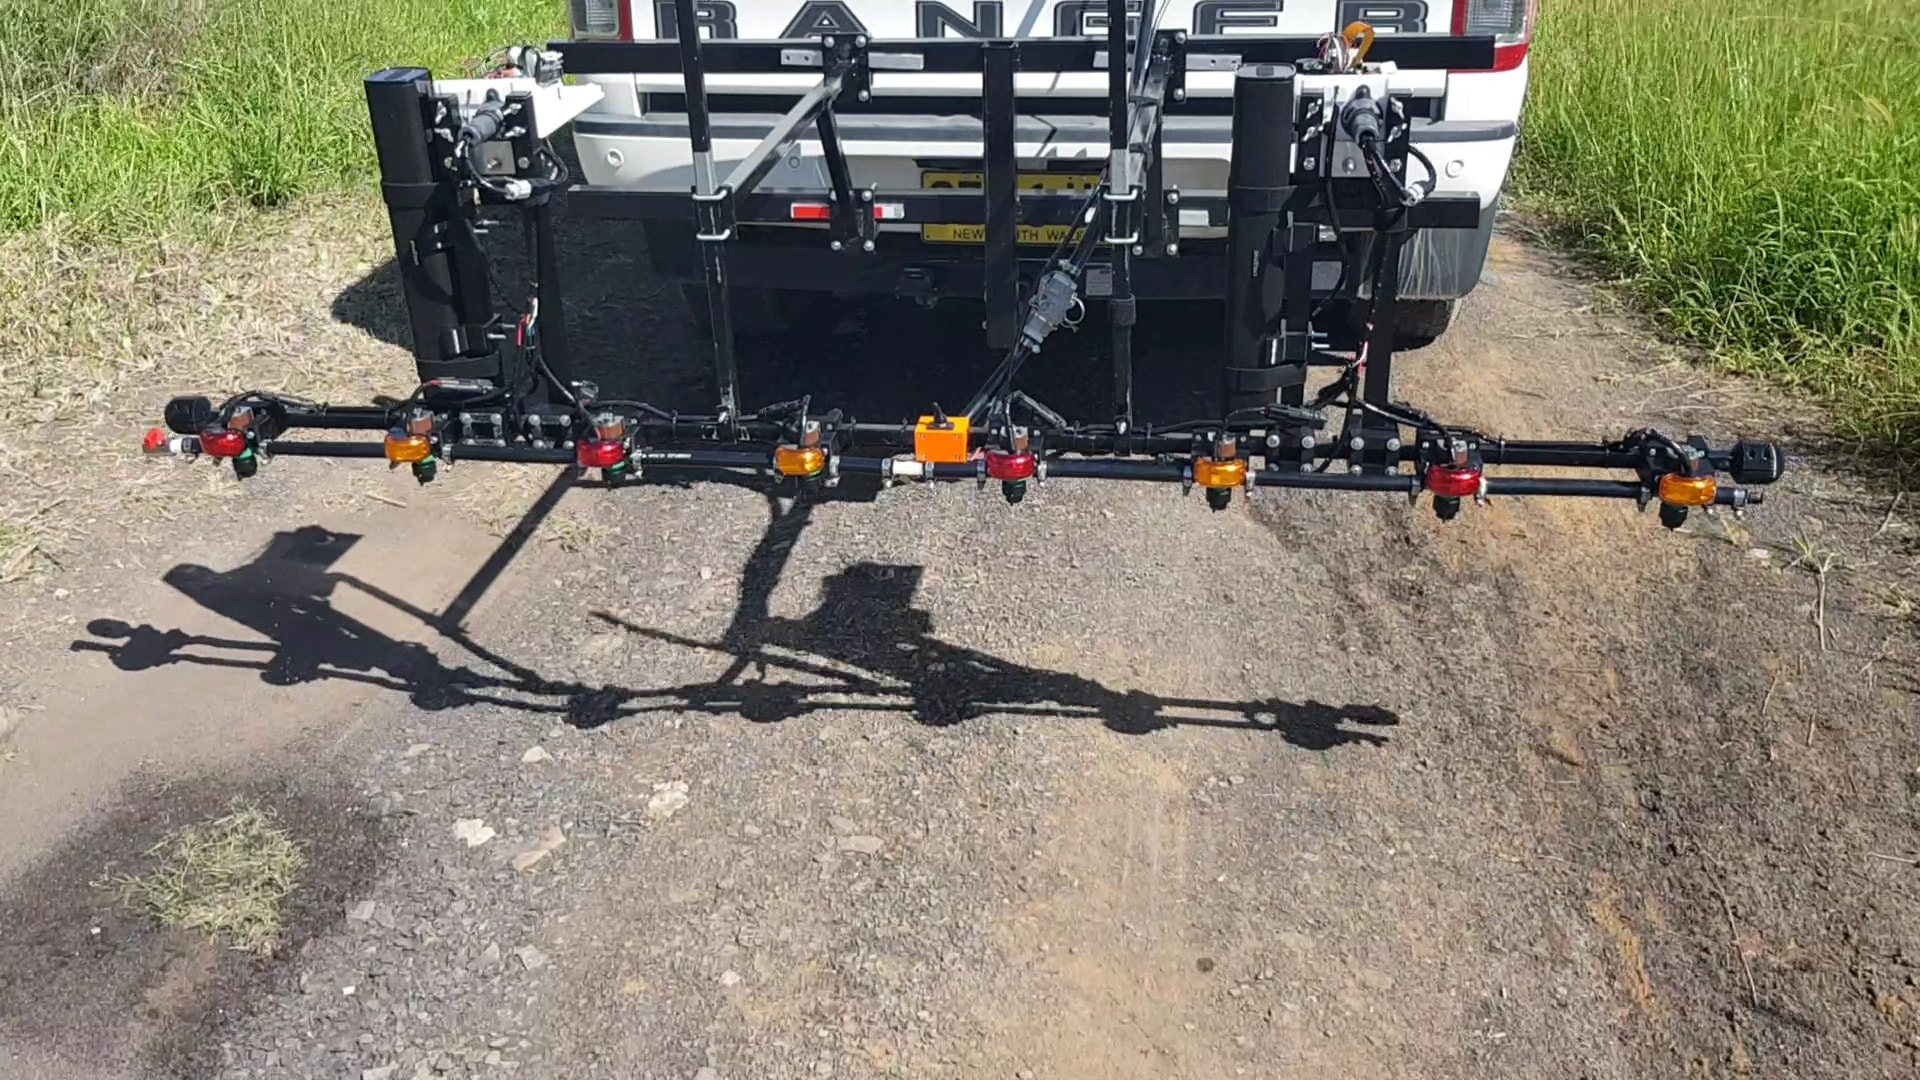
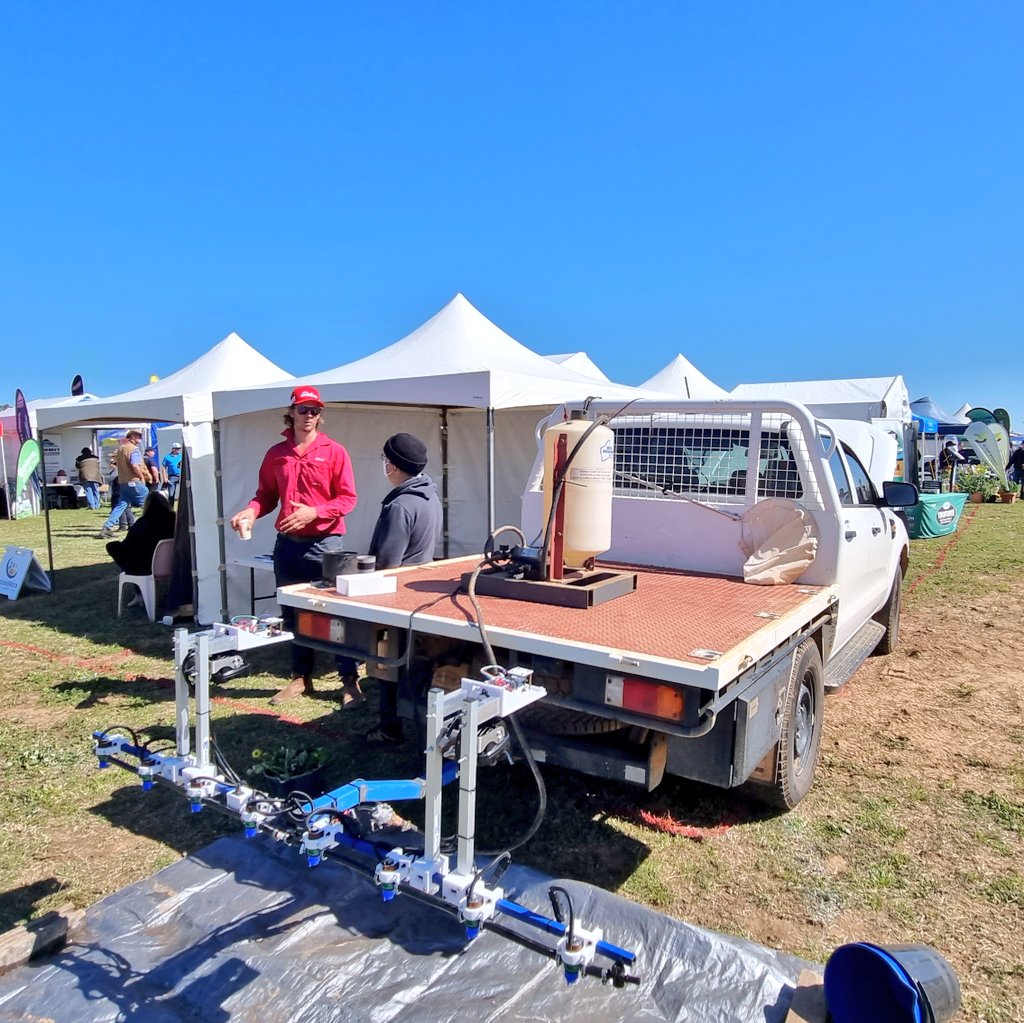
Ute - 2m system (AUS)
Another 2m system on a ute at the Mingenew Field Days in 2023 - uses the same Goyen solenoid as the ute system above
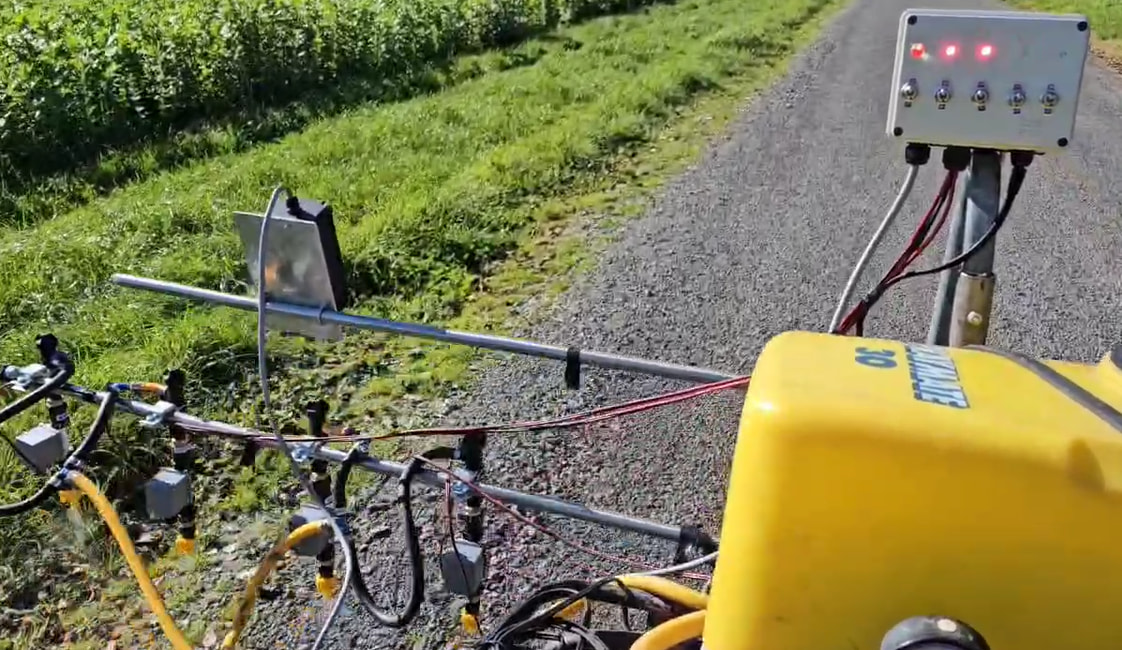
ATV - 1m sprayer (NZ)
This is a custom ATV-mounted system for driveway spraying in New Zealand. Image courtesy of Field Kelly (LinkedIn).
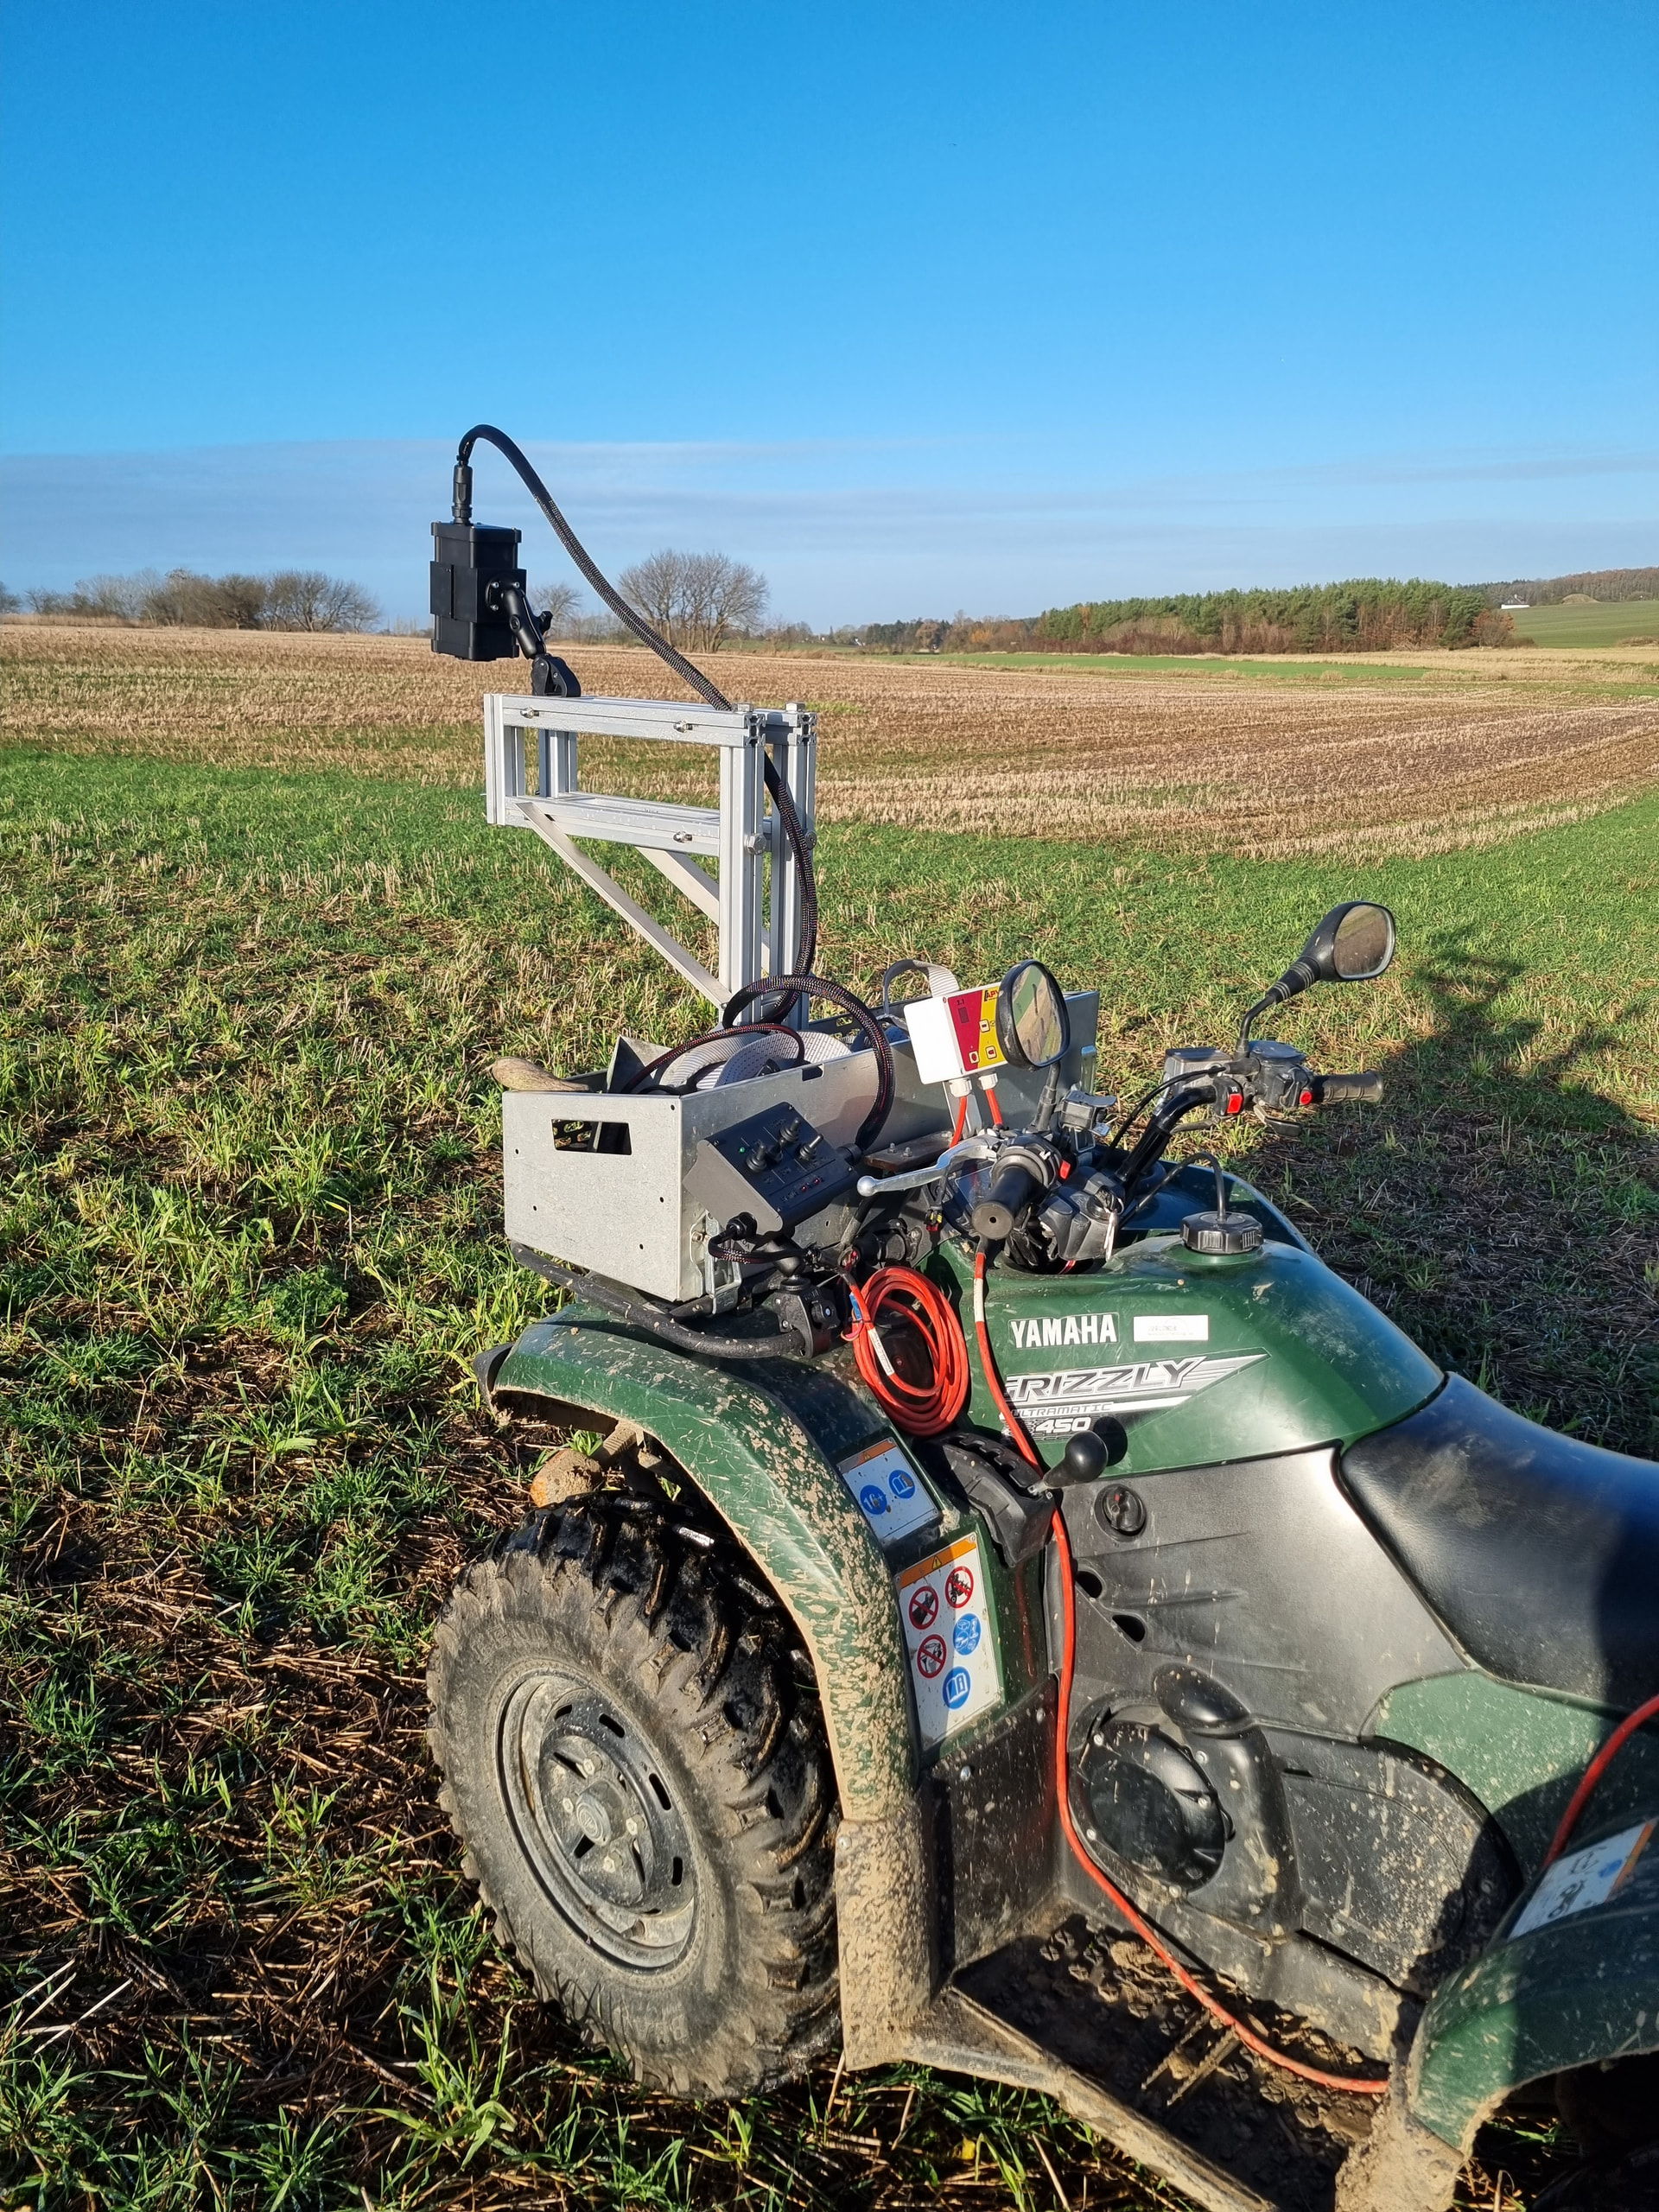
ATV - Data collection (DK)
An ATV running the OWL for image data collection.
Tractor-mounted
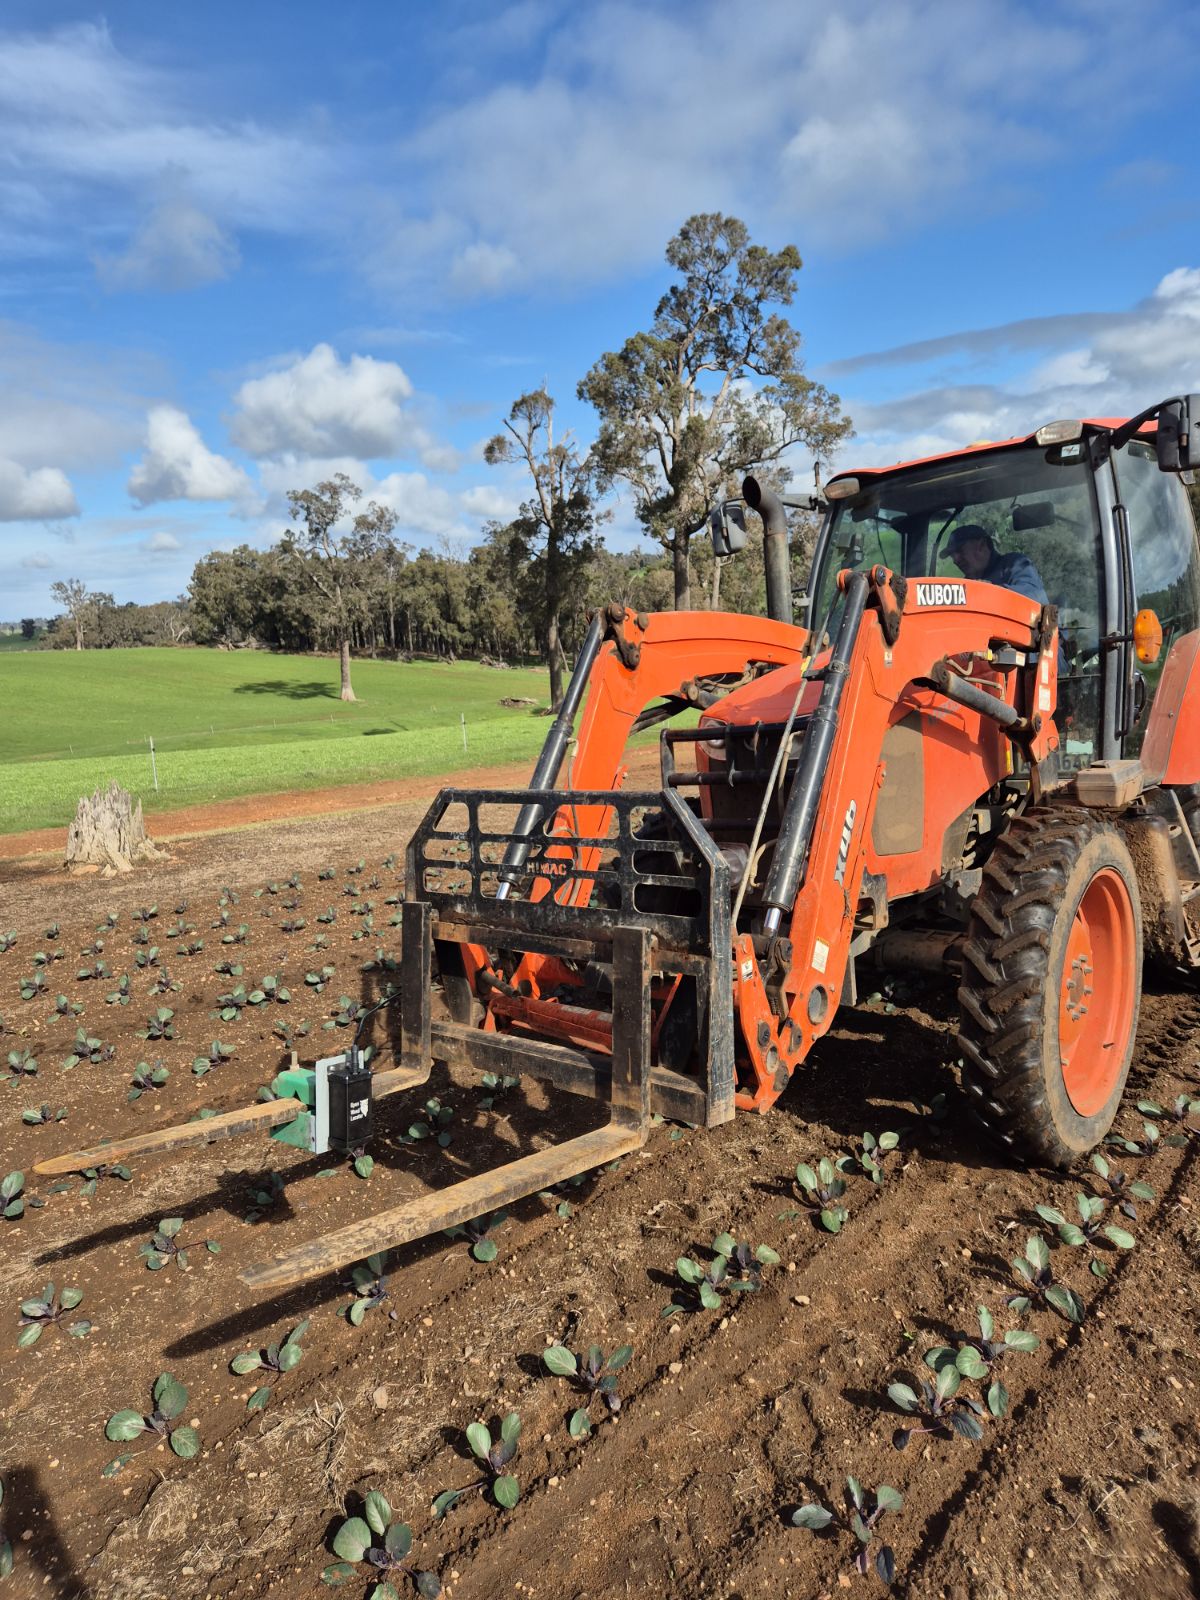
Image data collection over vegetable crops in Australia. You can read about this open-source vegetable precision spraying project with Jake Ryan and farmers in Manjimup in the AusVeg Magazine. (Image courtesy of Jake Ryan)
Linkage and trailed sprayer
A 4m system built by Pat Hulme in NSW. You can see the video and story here. It also uses 12V Goyen solenoids.
A 1m setup for a demo day made by Agtech By Design in South Australia. See the original post and story on Github.
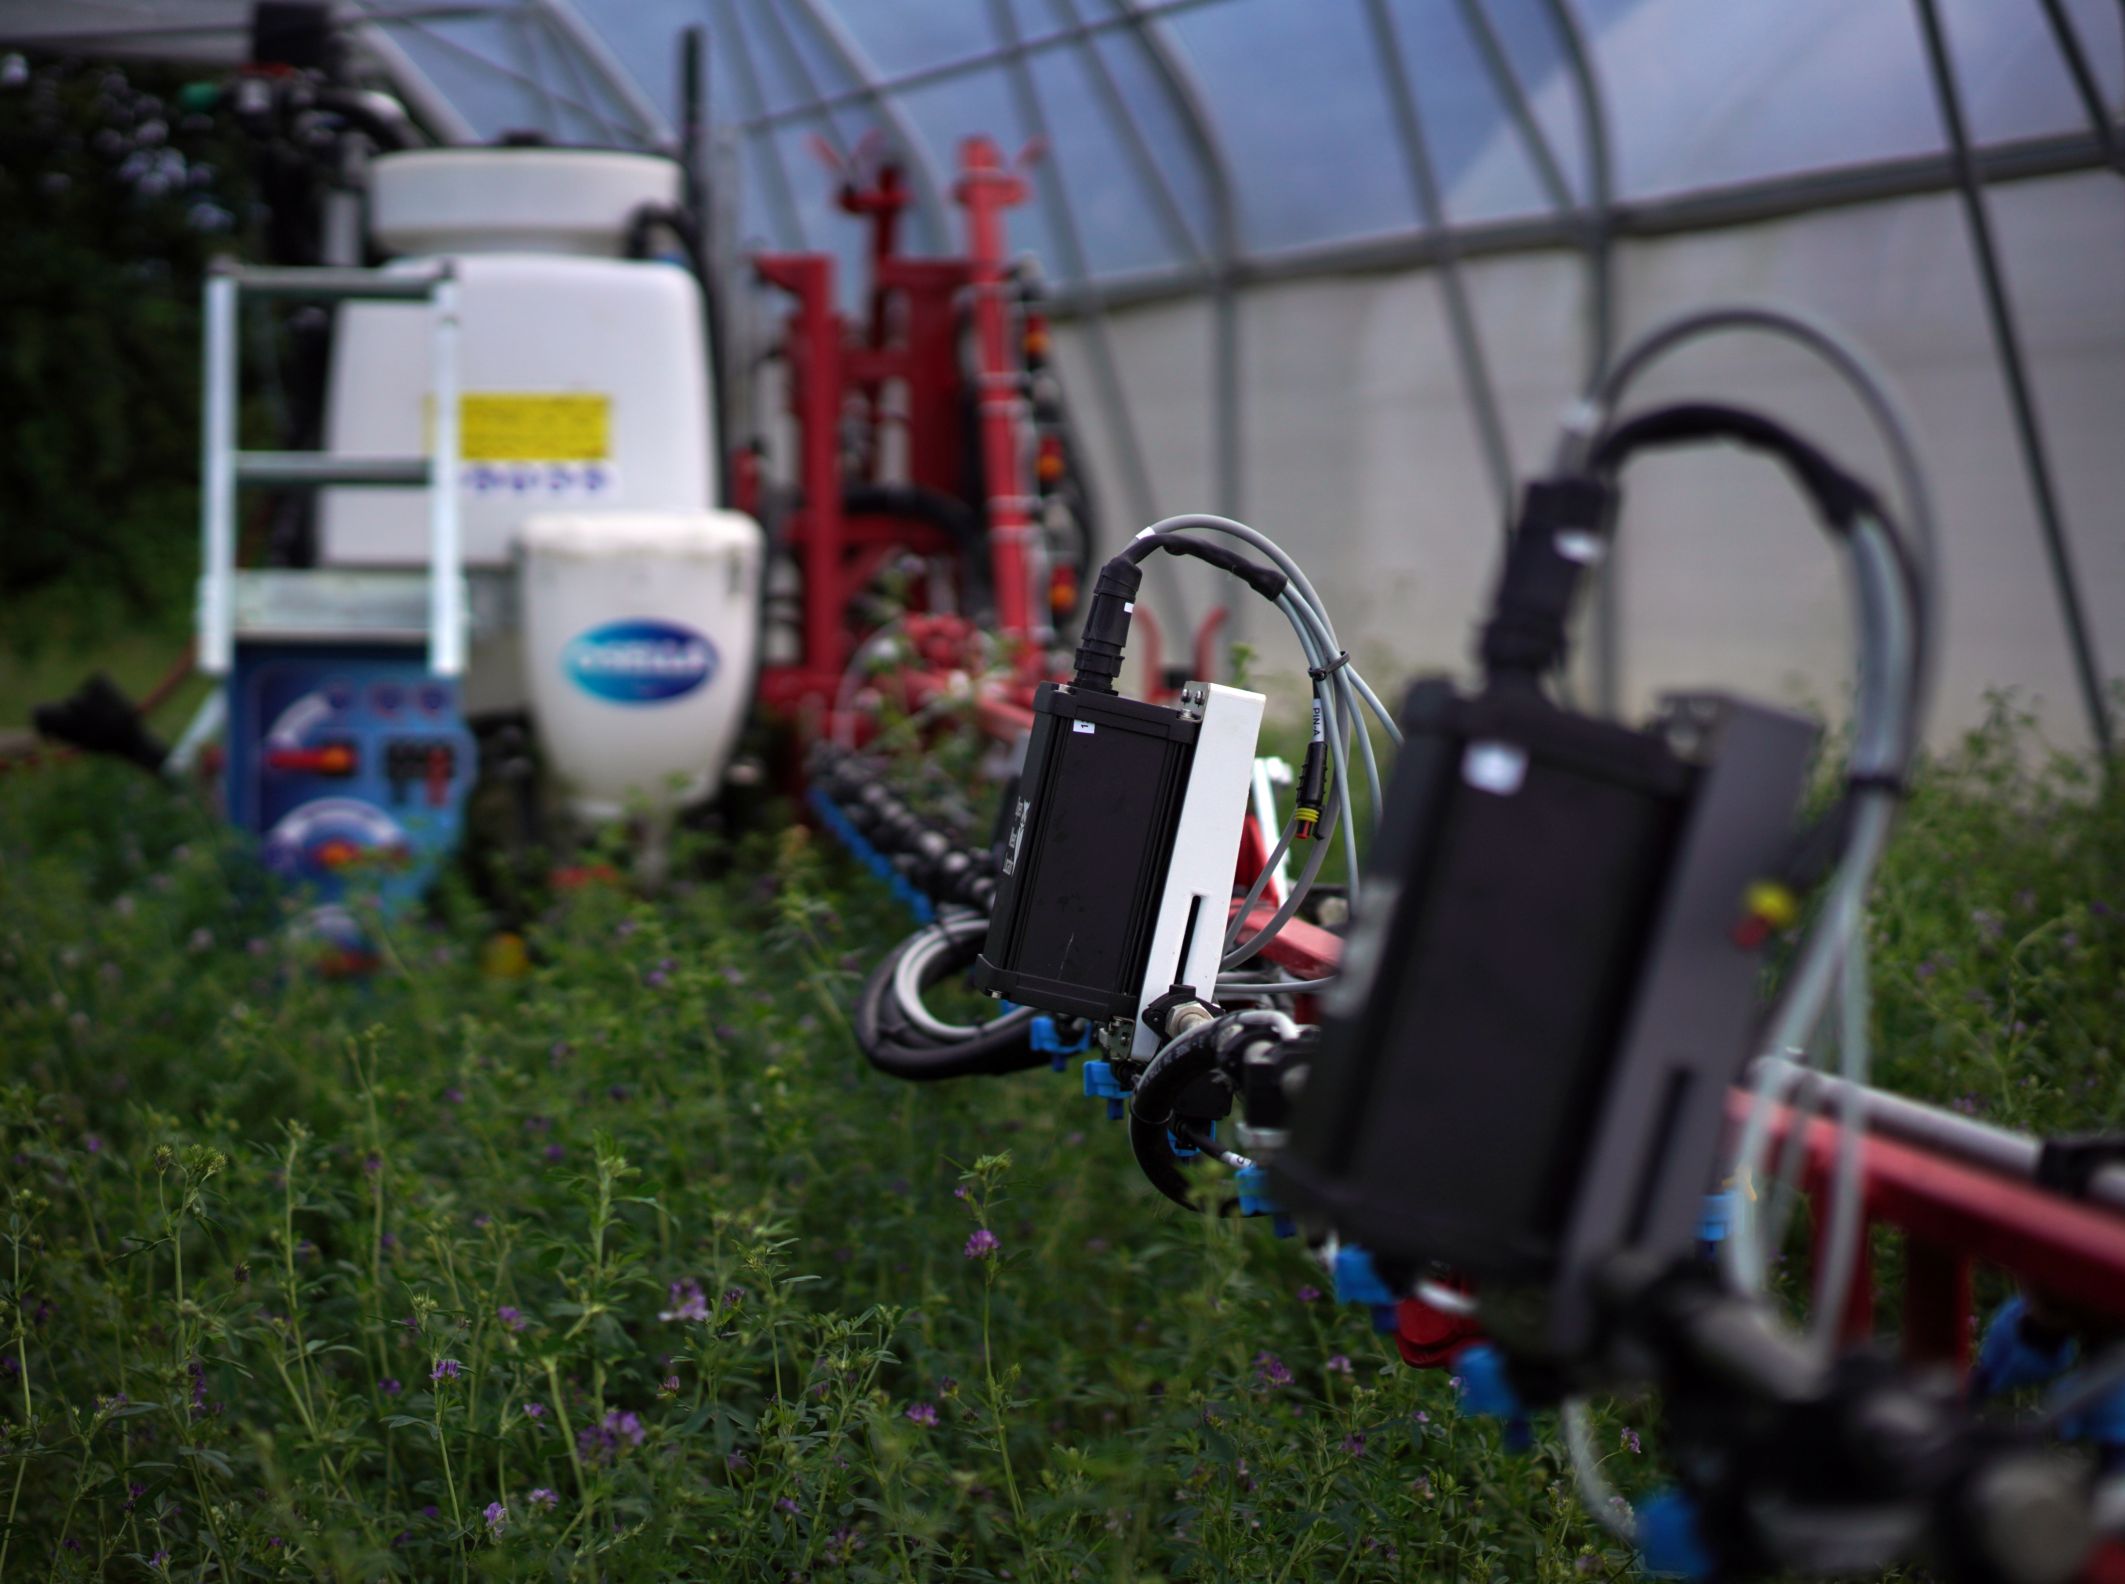
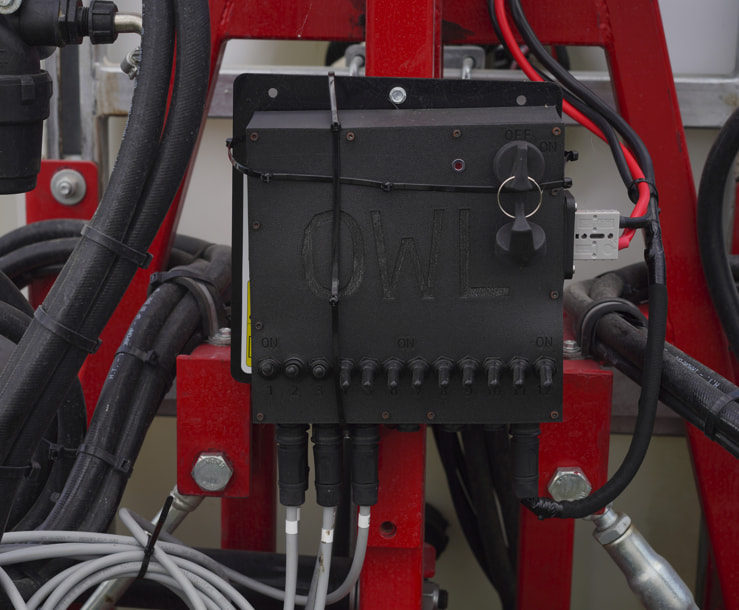
We recently built a 12m system at the University of Copenhagen. This design required a lot more engineering - wiring, power distribution, camera mounts and a wireless control interface with the Teltonika router and an MQTT broker. This deserves its own write-up and publication. If you are interested in this, you can install everything needed from the wireless-display branch of the repo - or just flick me a message and I’d be happy to chat.
Bench tests
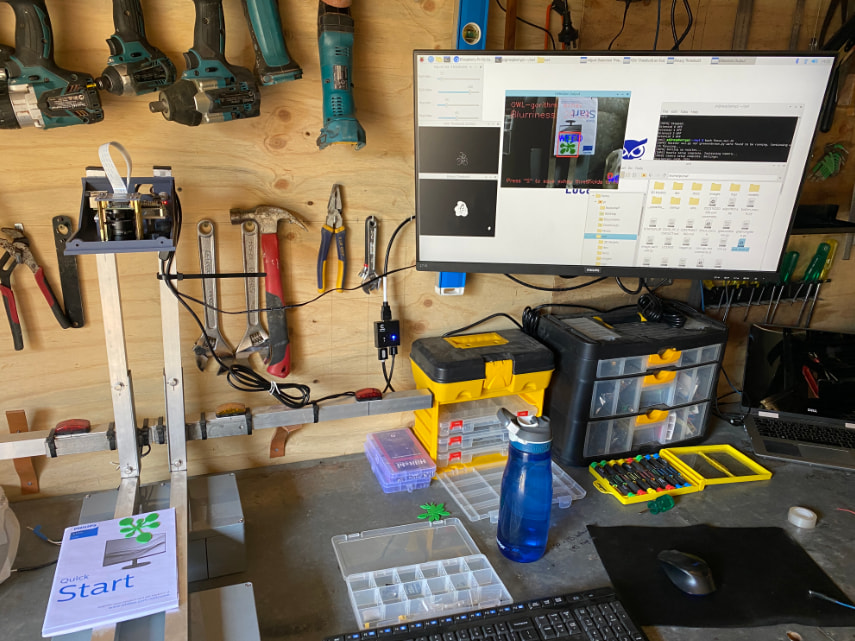
A bench test in a shed in NSW Australia (see the original post on Github)
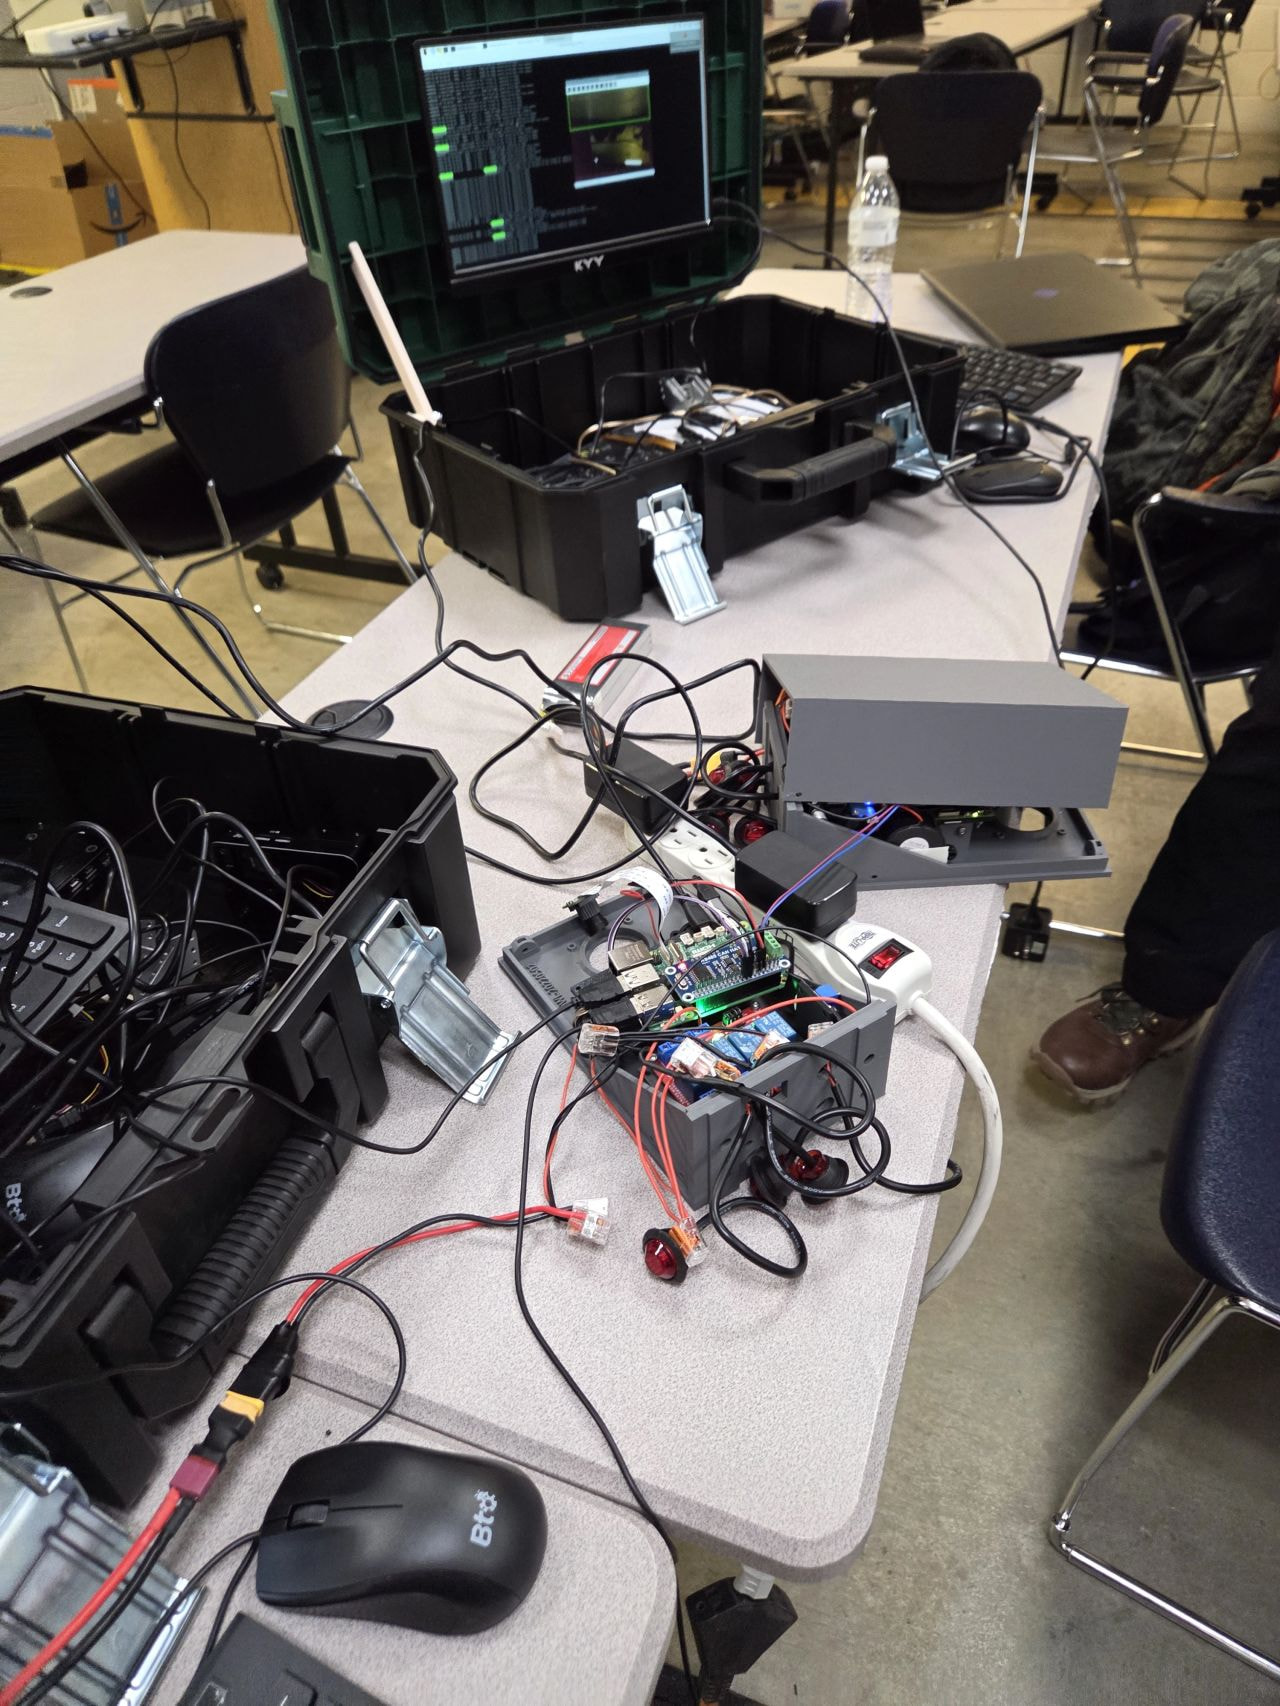
Students setting up OWL as a CAN-system at the University of Nebraska Lincoln. The original post by Professor Santosh Pitla is available here.
A testing system set up in France by French farmer Sebastien Briffond. View the video here.
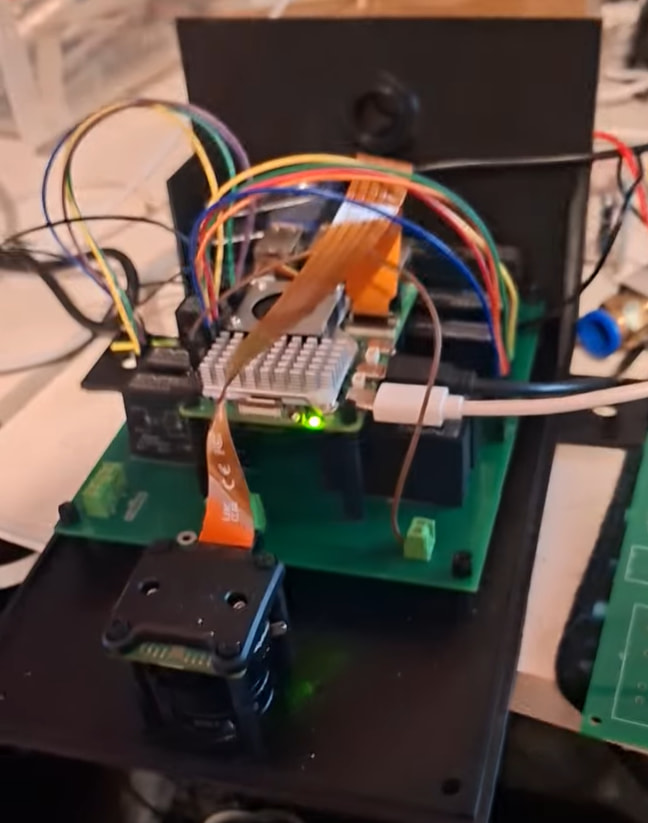
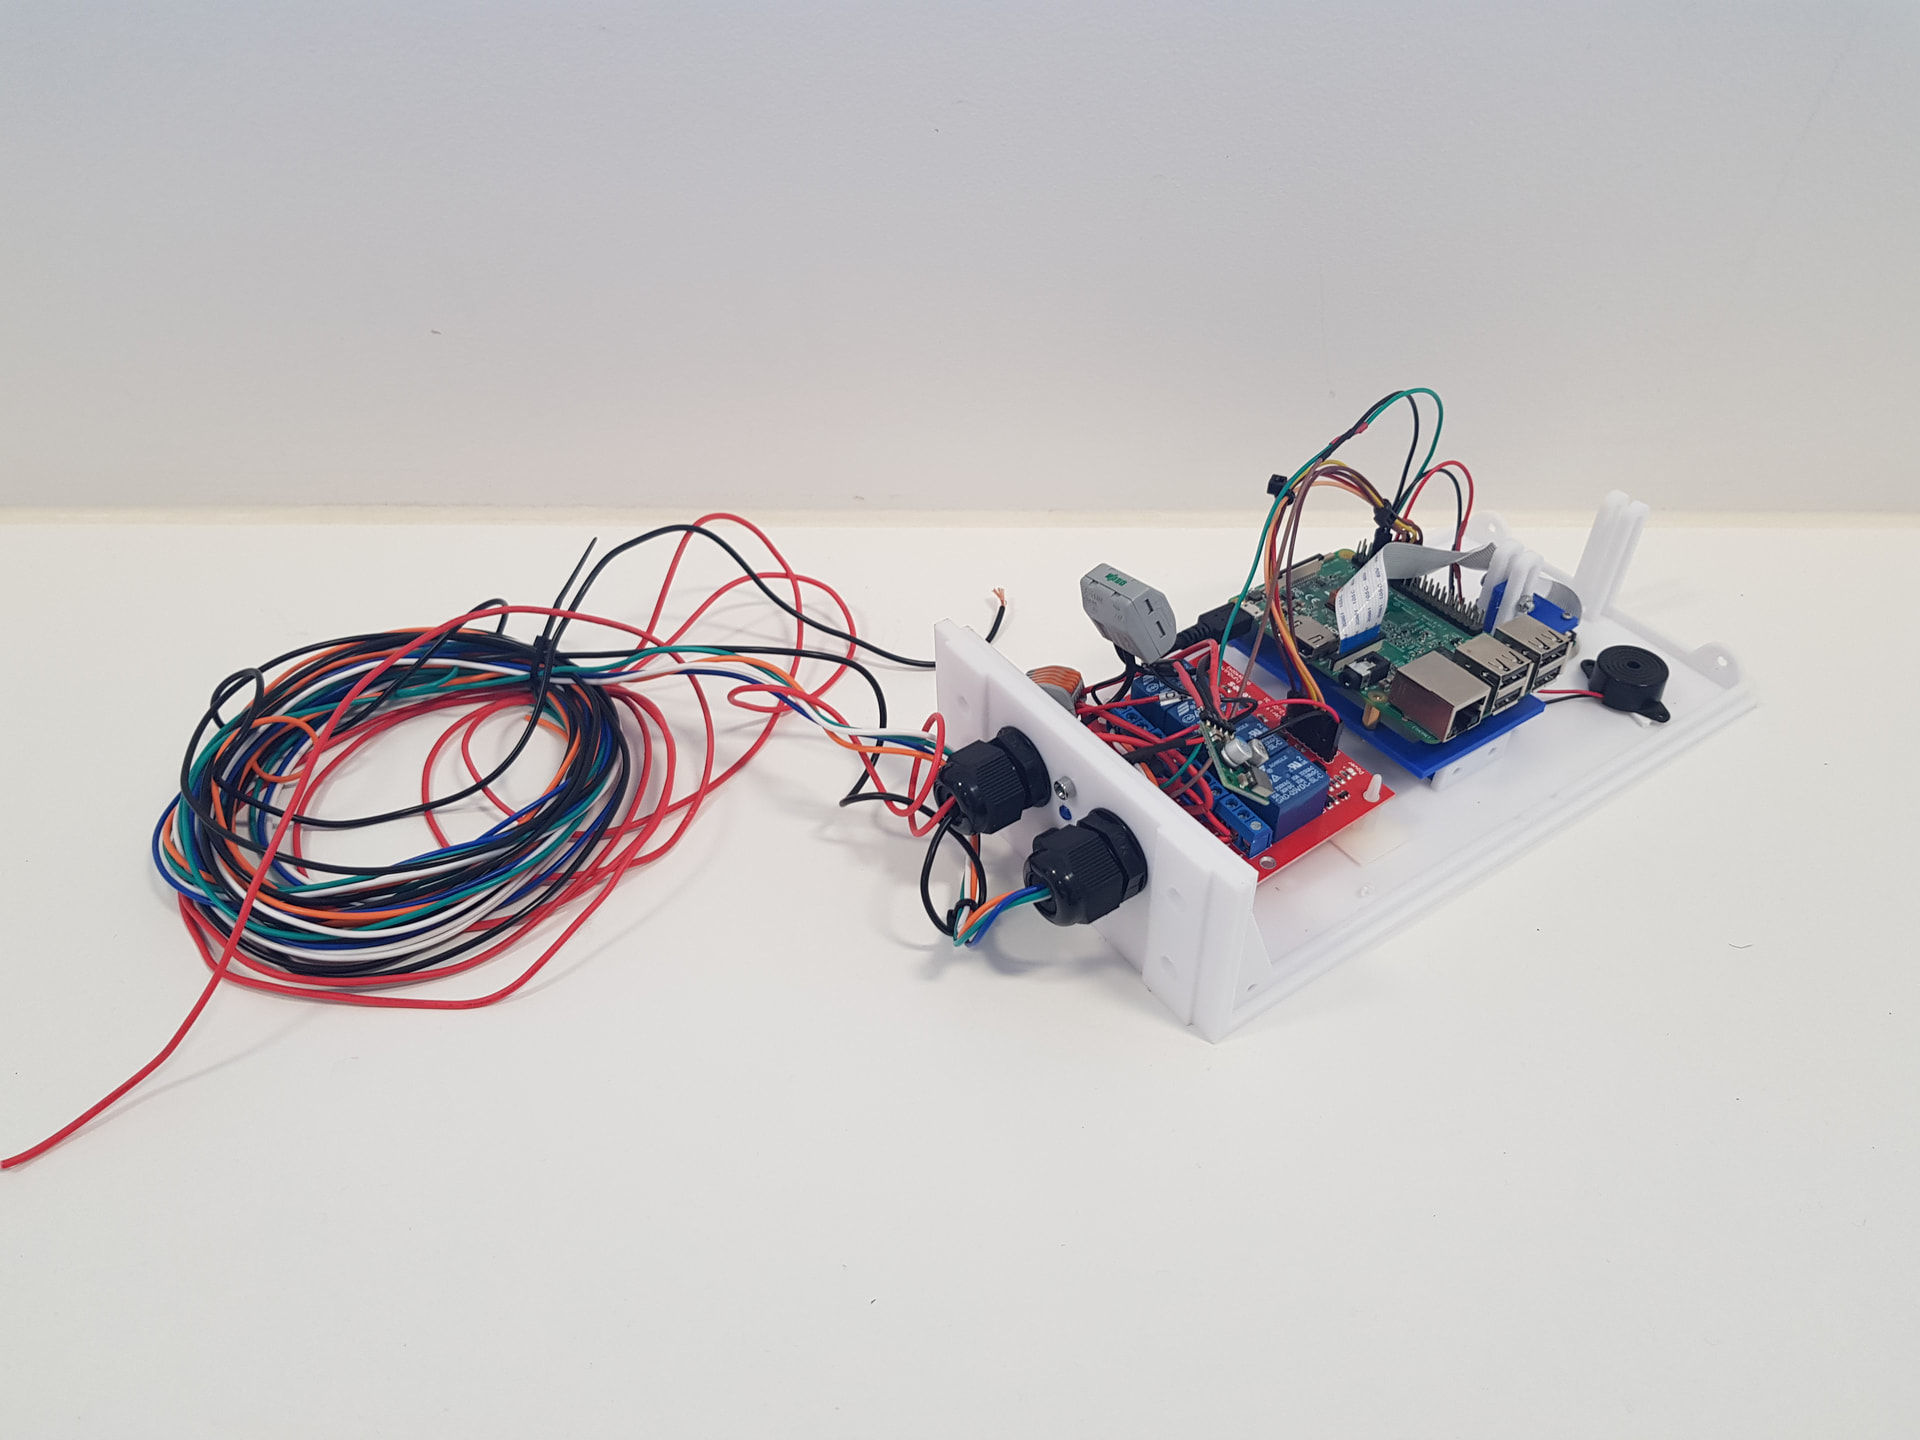
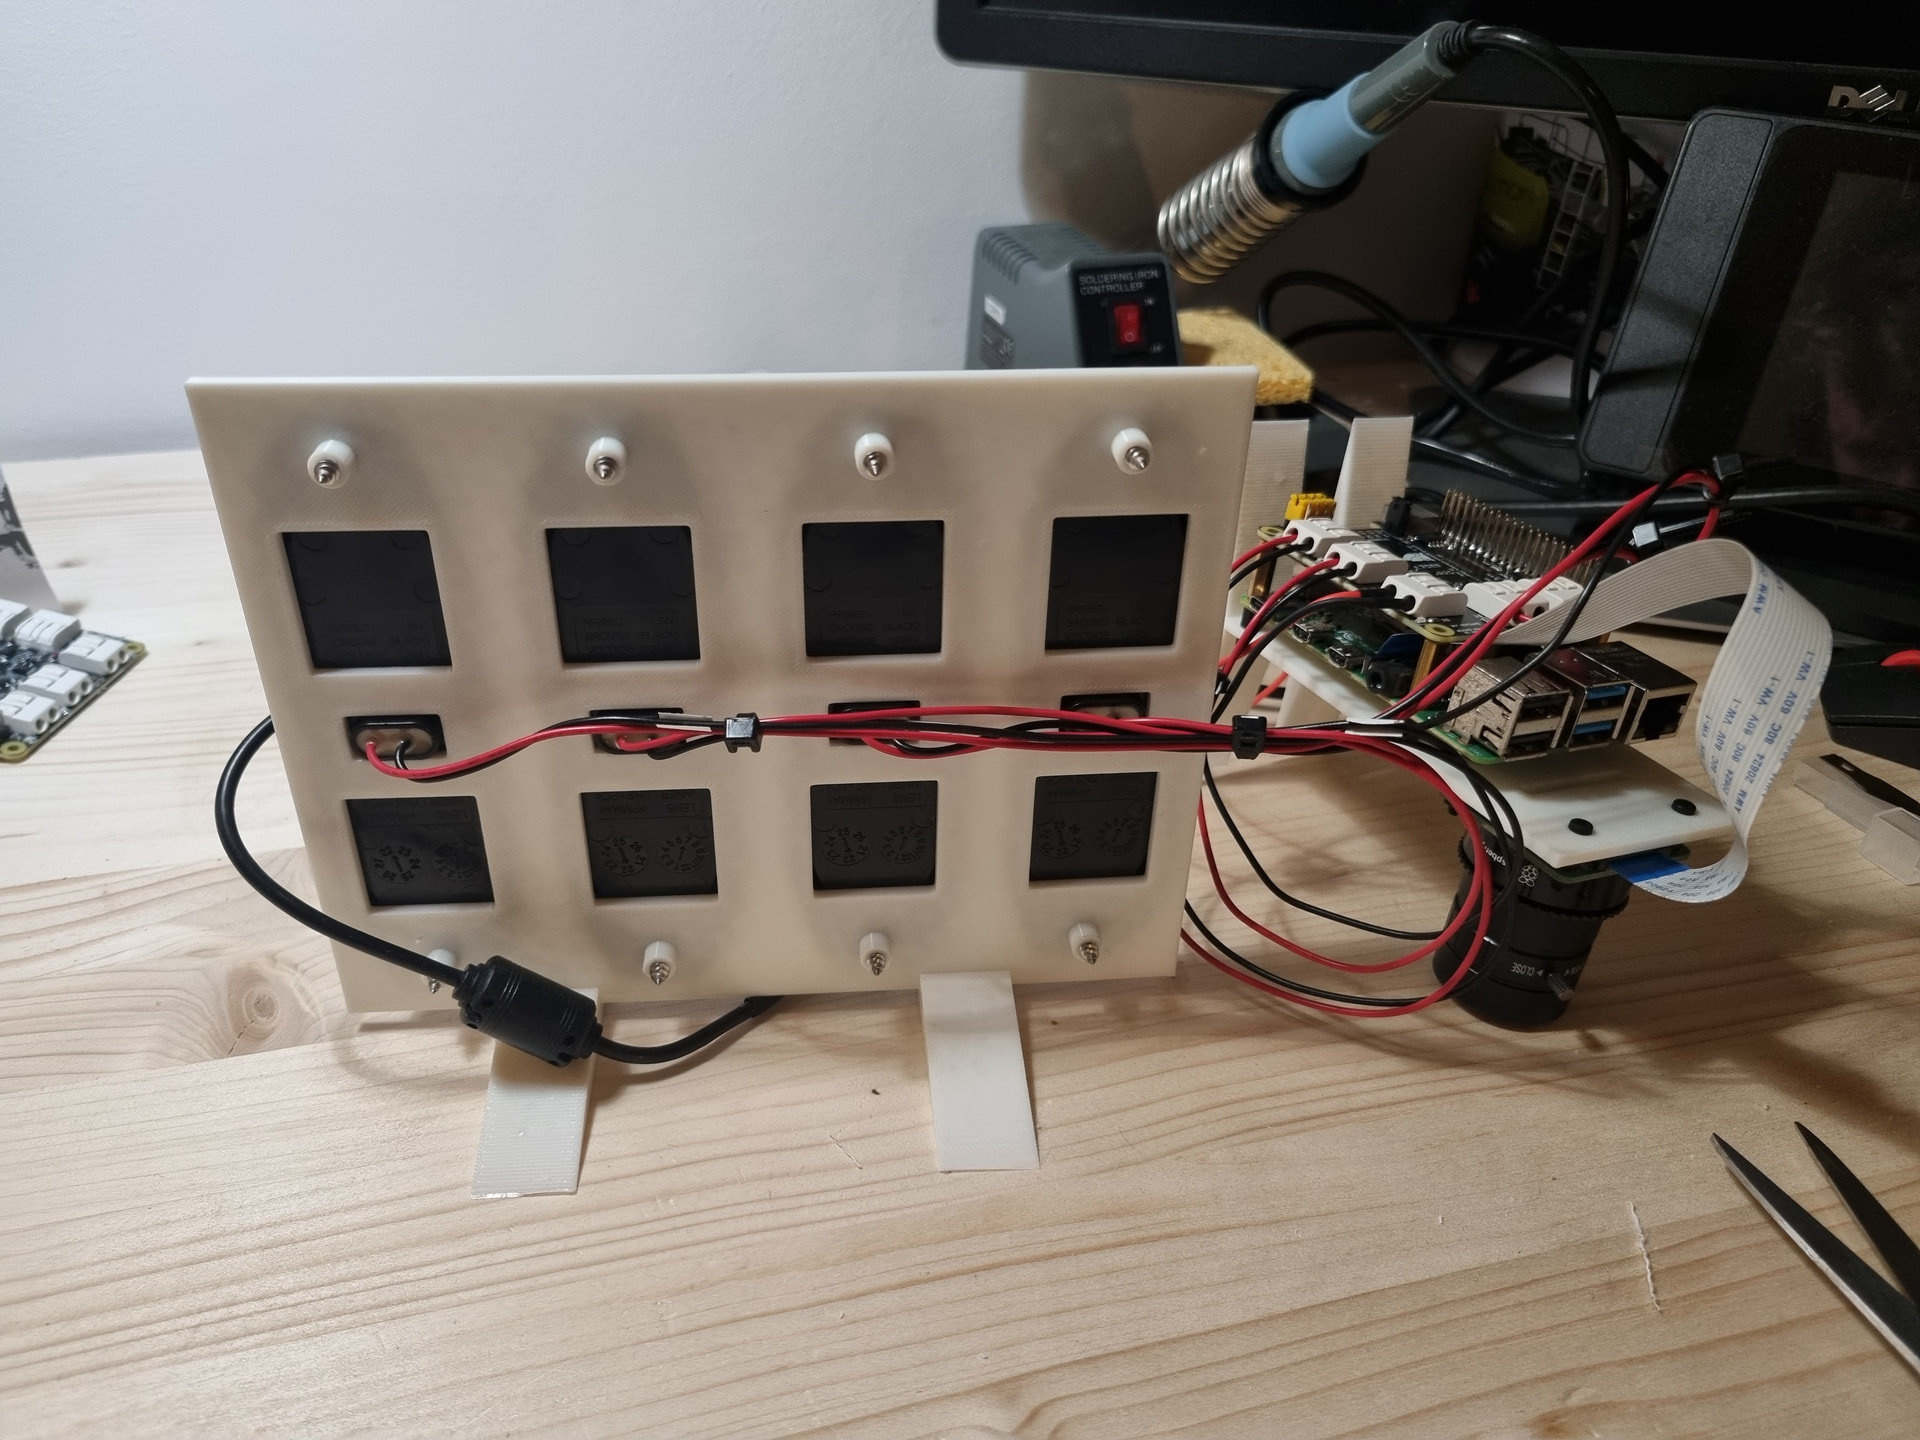
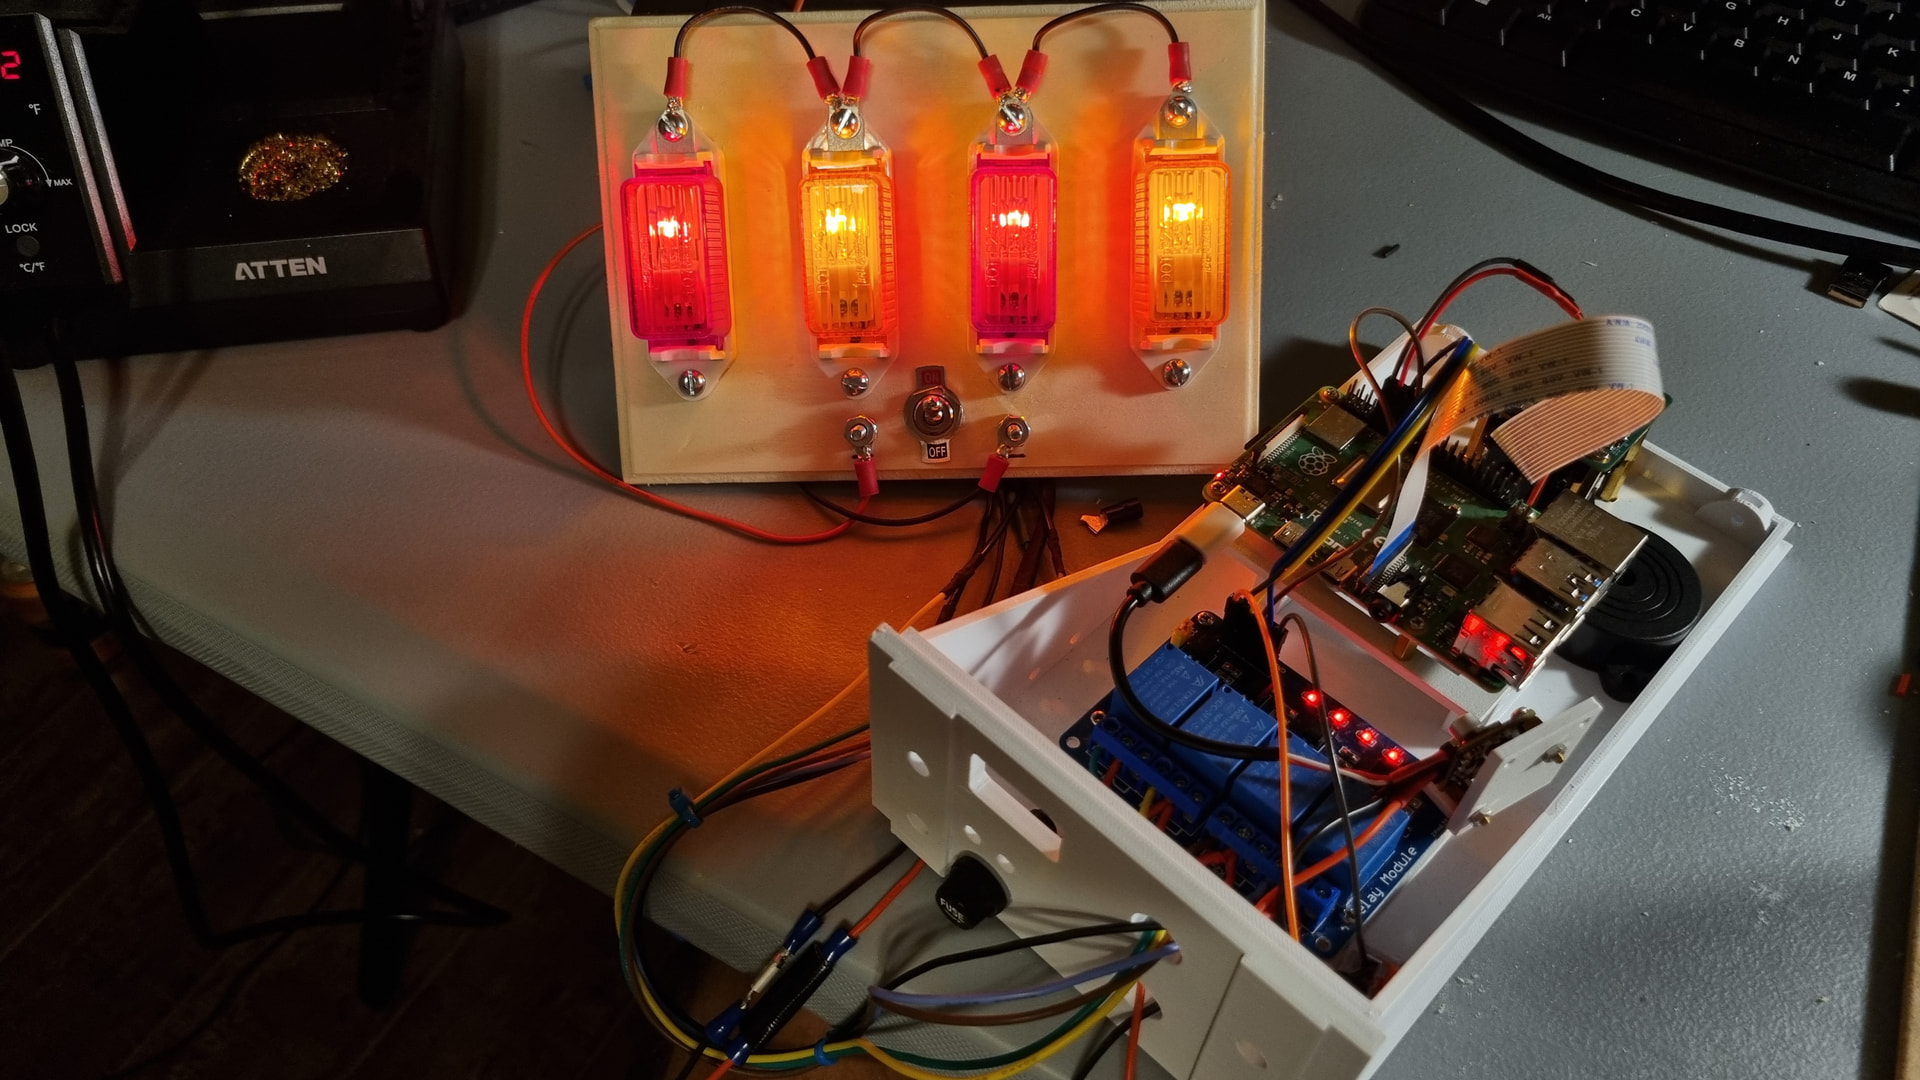
Using 4 lights for a bench demo to a group of farmers and for my own testing.
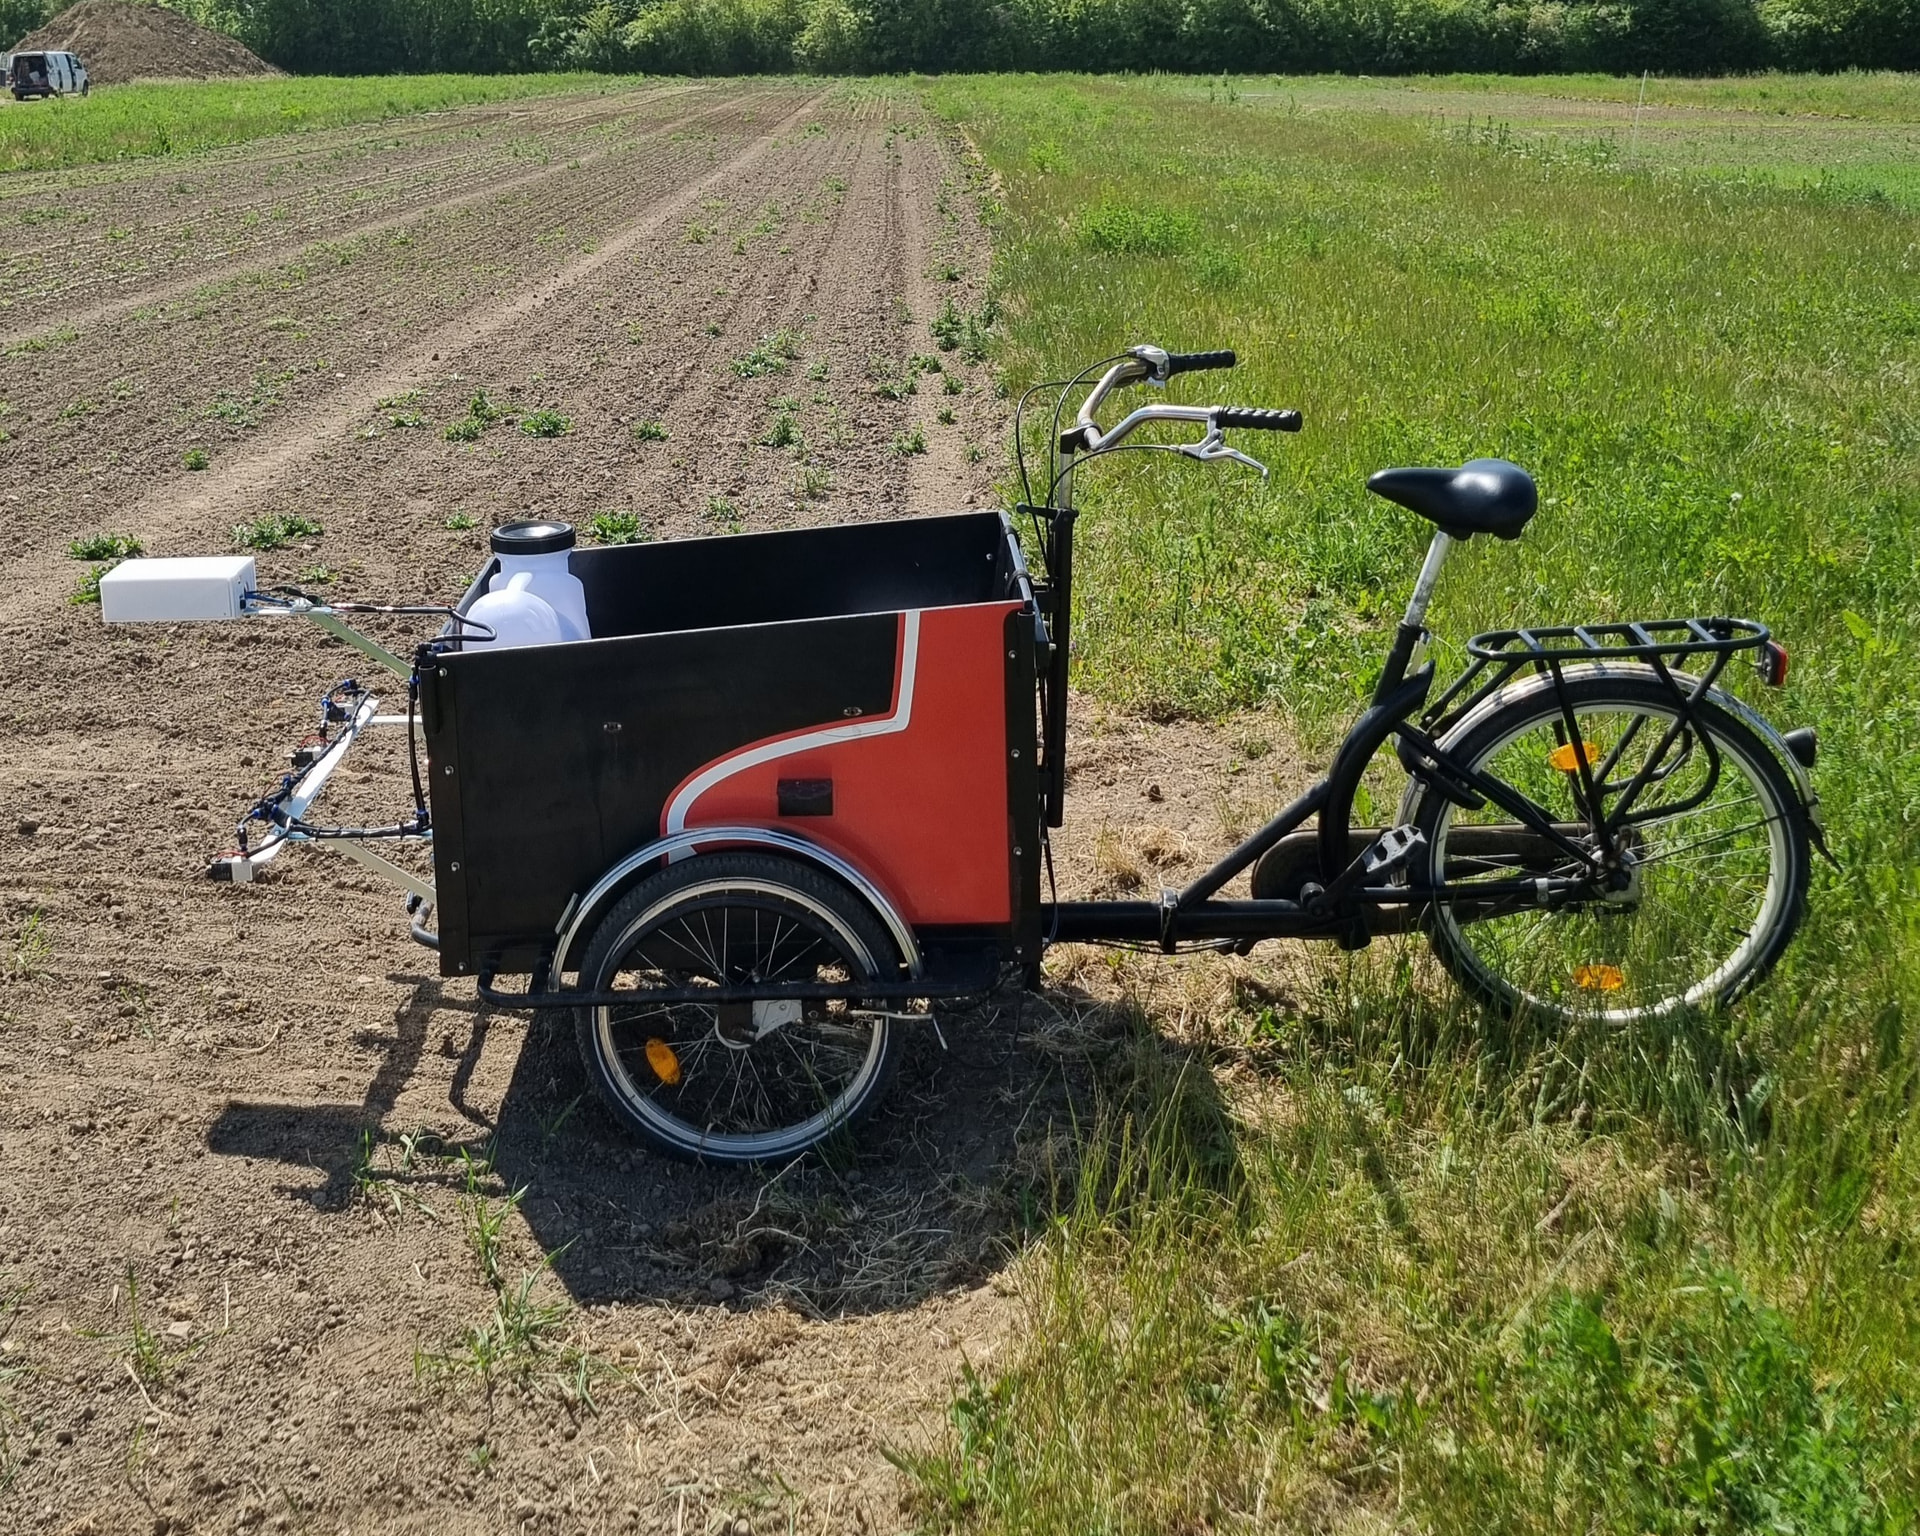
Bicycles (DK)
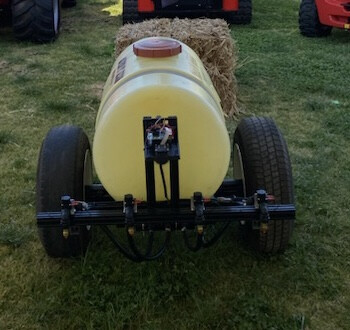
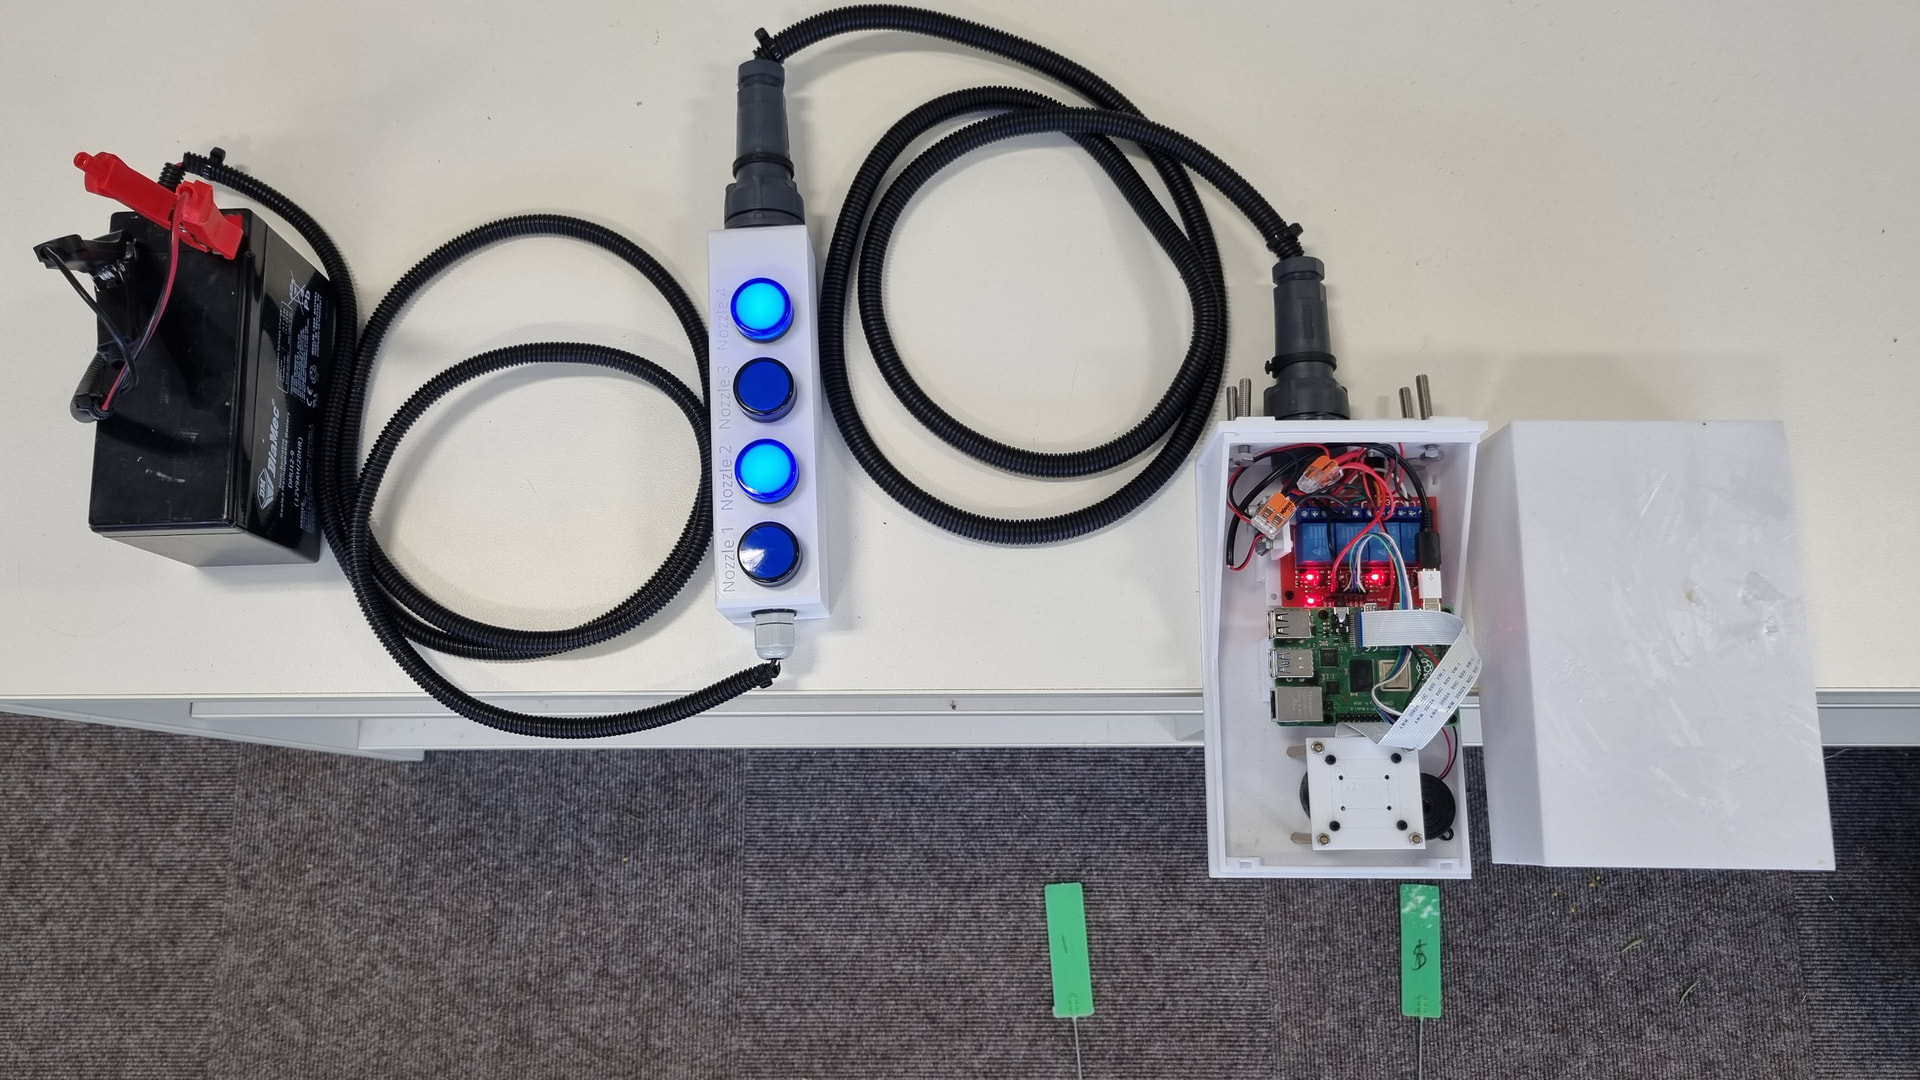
I built this one in Denmark with my cargo bike using a 12V backpack sprayer, the Original OWL design with the Pi 4 + HQ camera and some cheap 12V solenoids off Ebay. Works quite well as a demo!