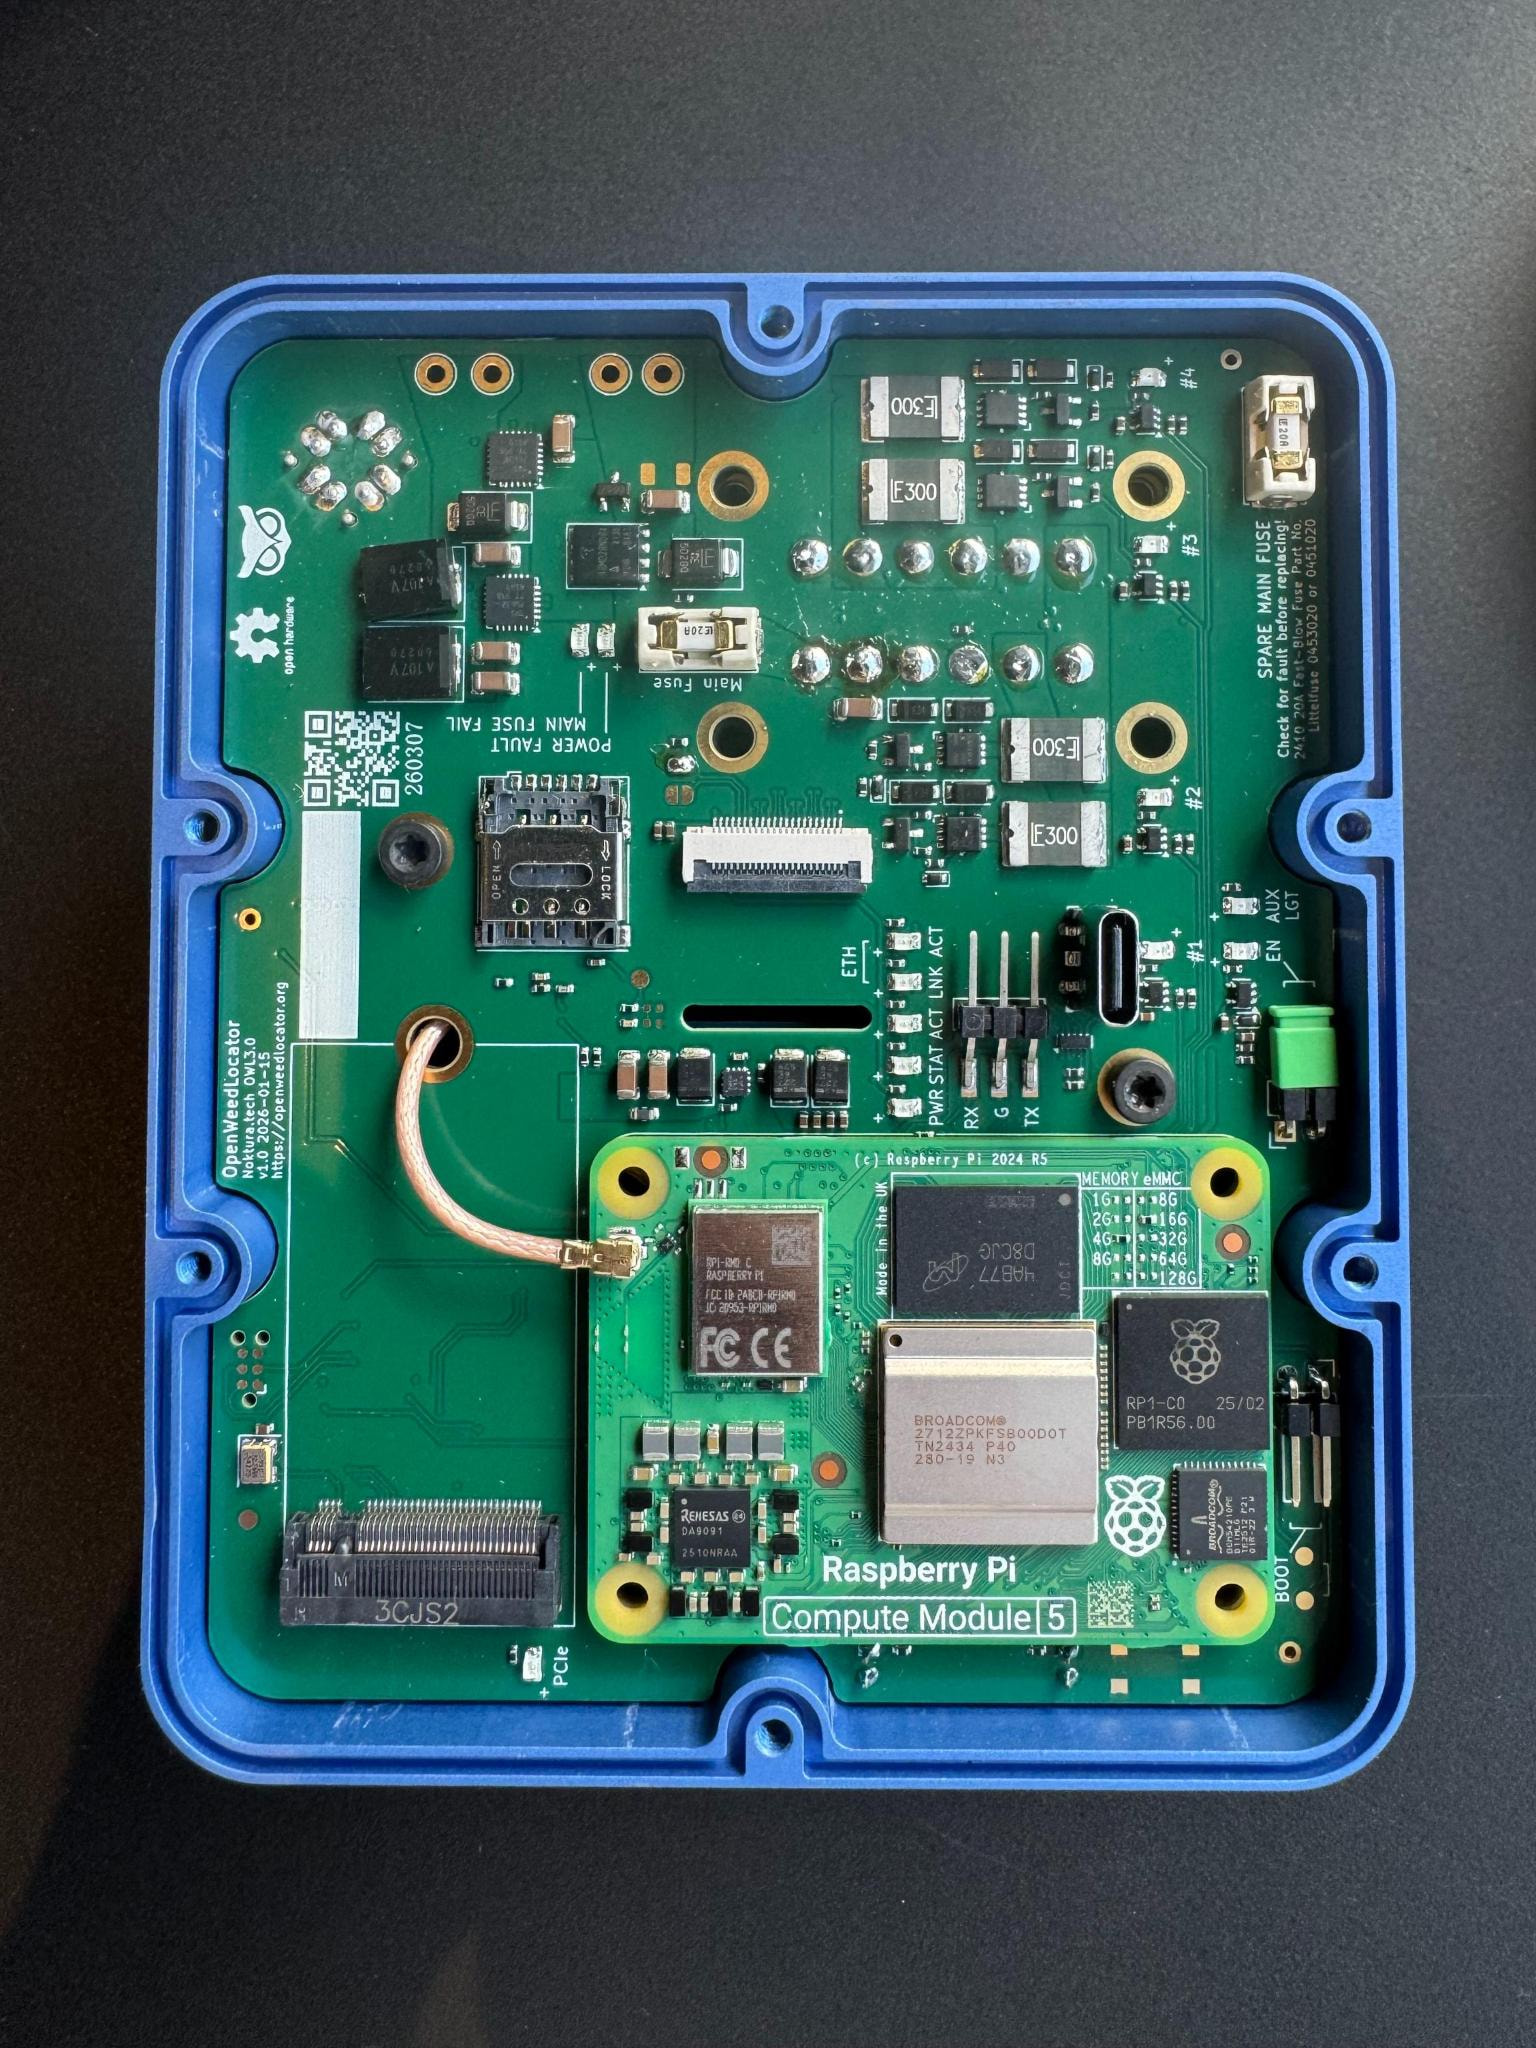
OpenWeedLocator v3.0.0
It’s been brewing for the last year or so on the wireless-display branch, so I’m excited to share it with you all now it’s been integrated into main. This release introduces wireless web dashboards, 50% faster GoB detection, support for use of YOLO/ultralytics models on the Pi (up to 25 FPS with object detection models), support for GPS integration for dynamic spray actuation times, and a move towards systemd for running the software away from cron. This change really helps reliability and flexibility when deployed.
Some of the key changes are below, and you can see everything on Github. It’s about 60,000 extra lines, mostly soaked up in CSS and JS for the dashboards.
Highlights
Web Dashboard Controllers
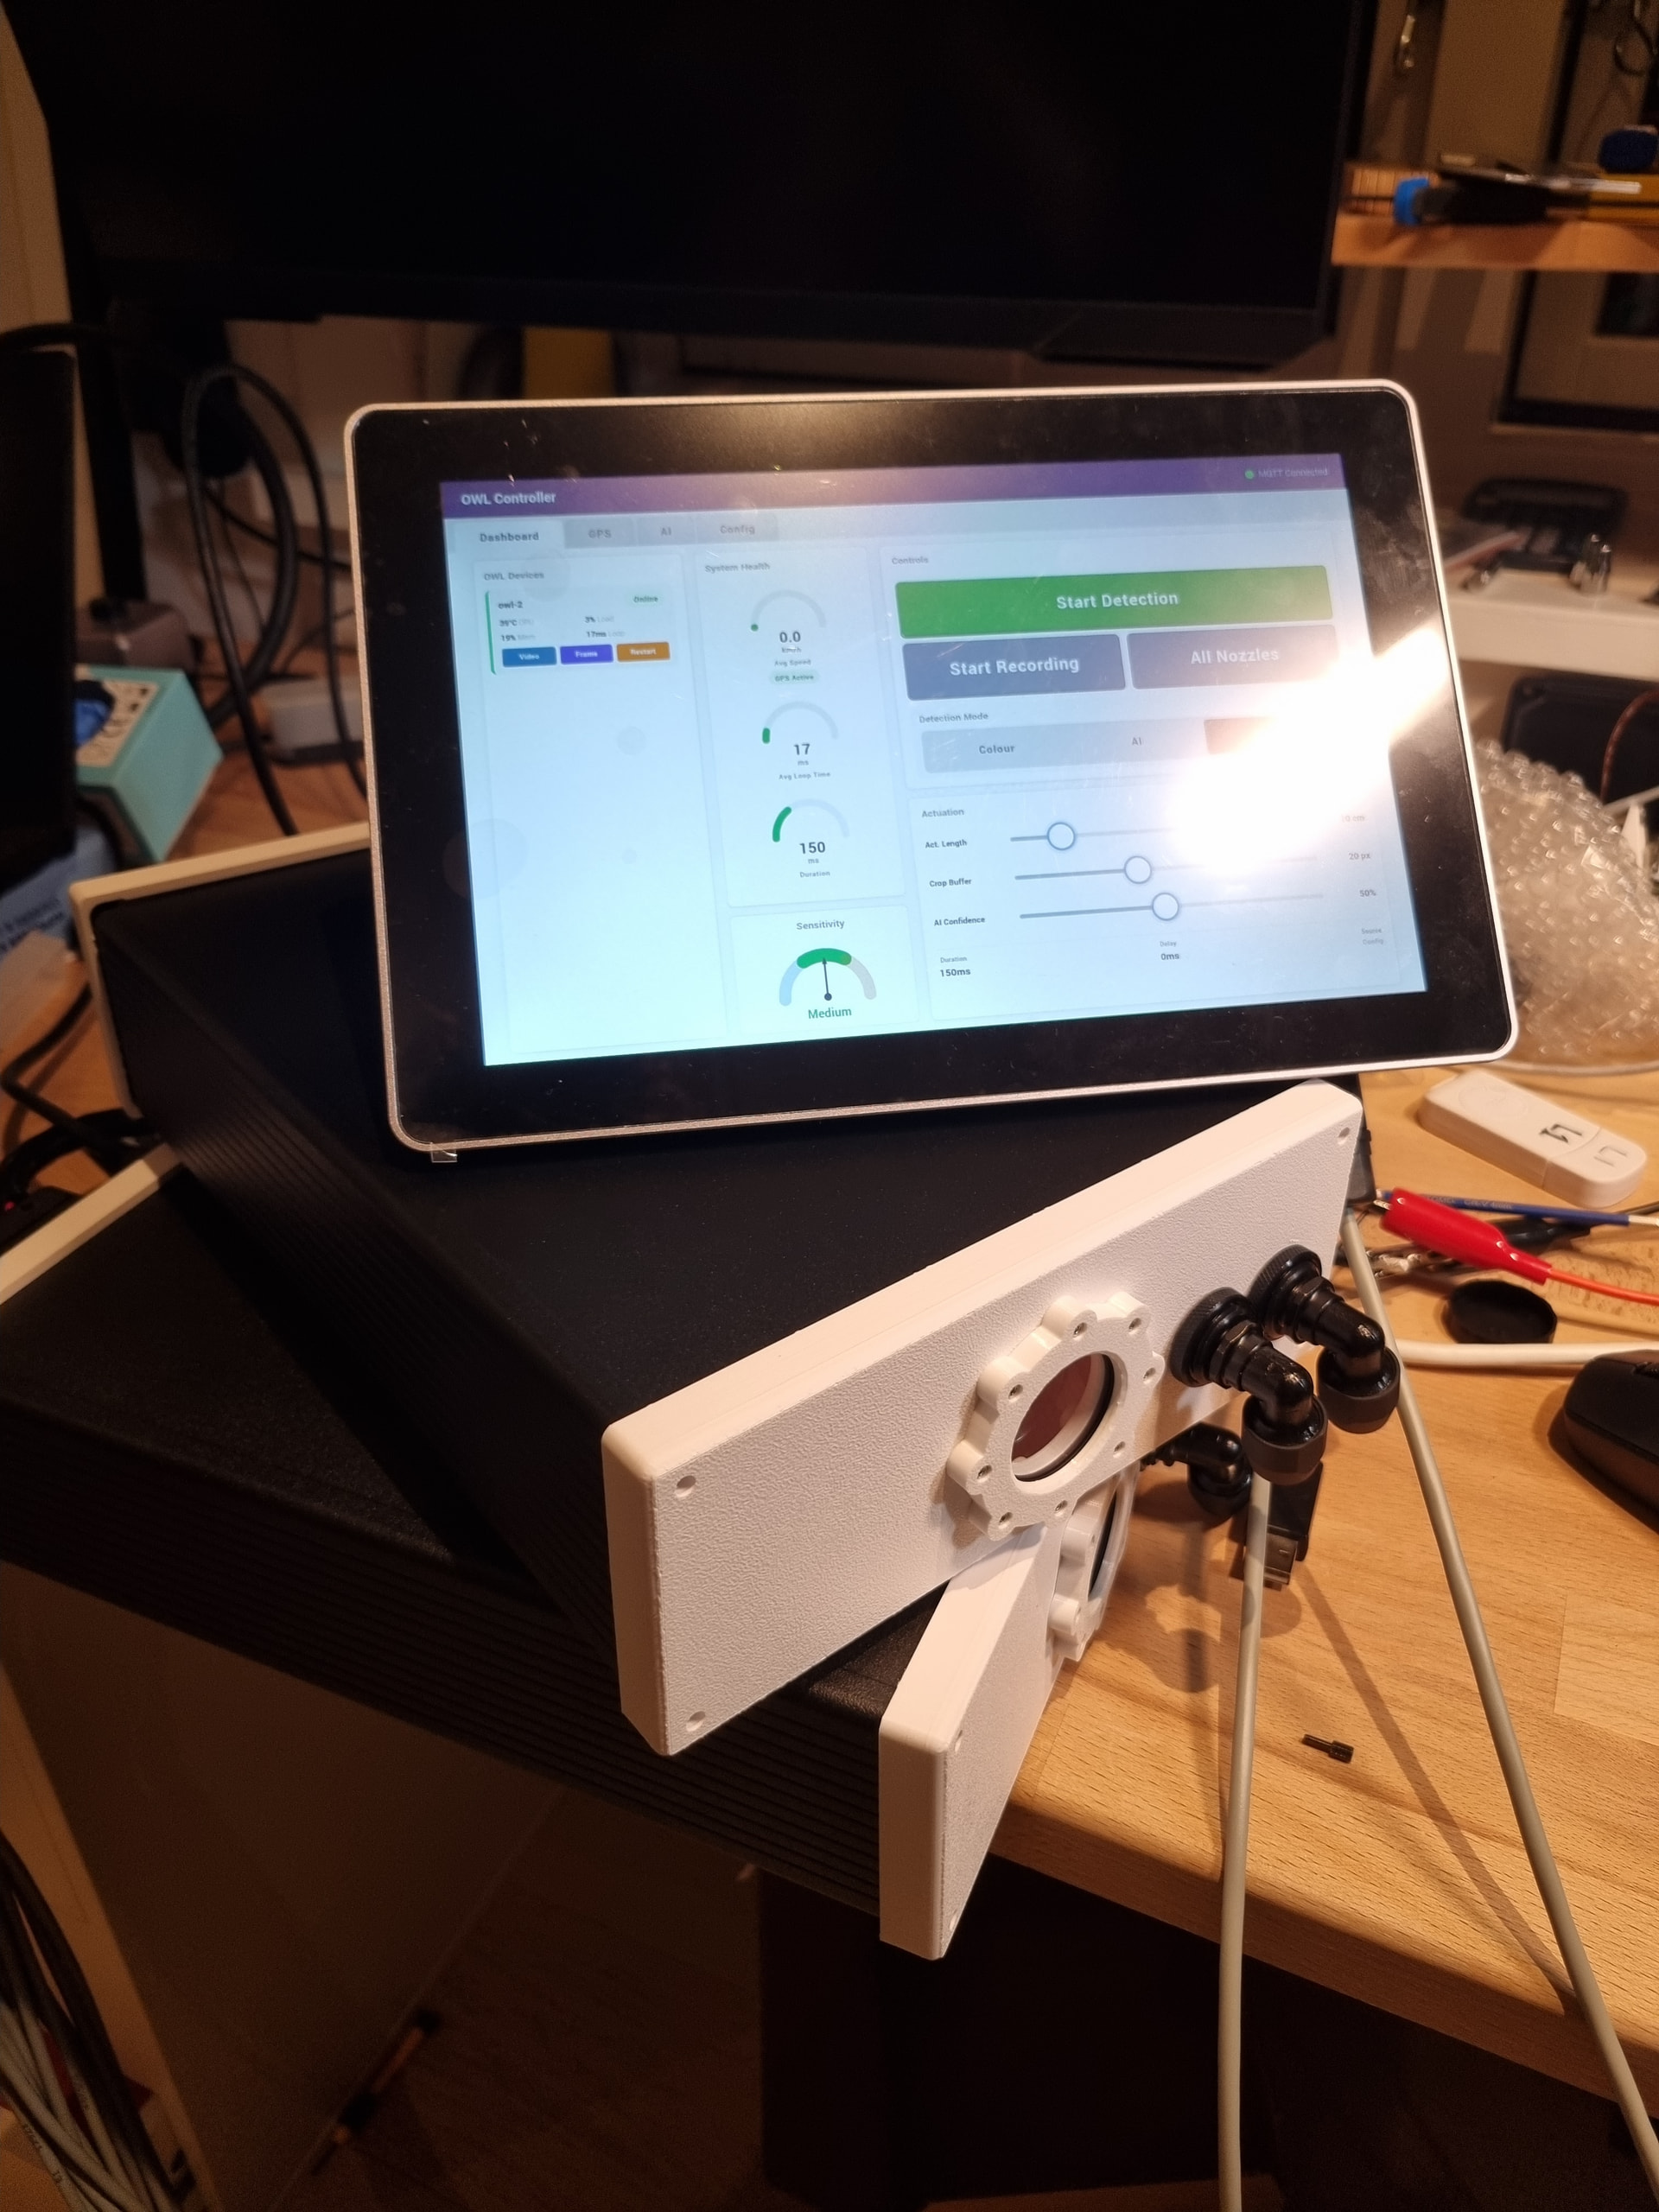
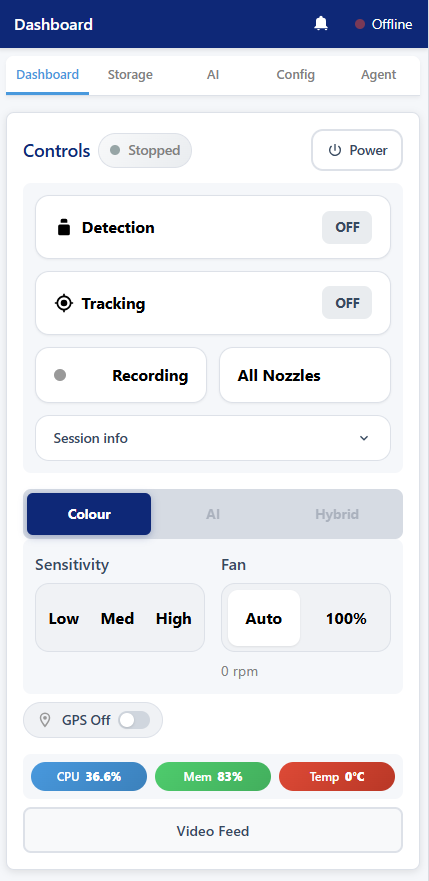
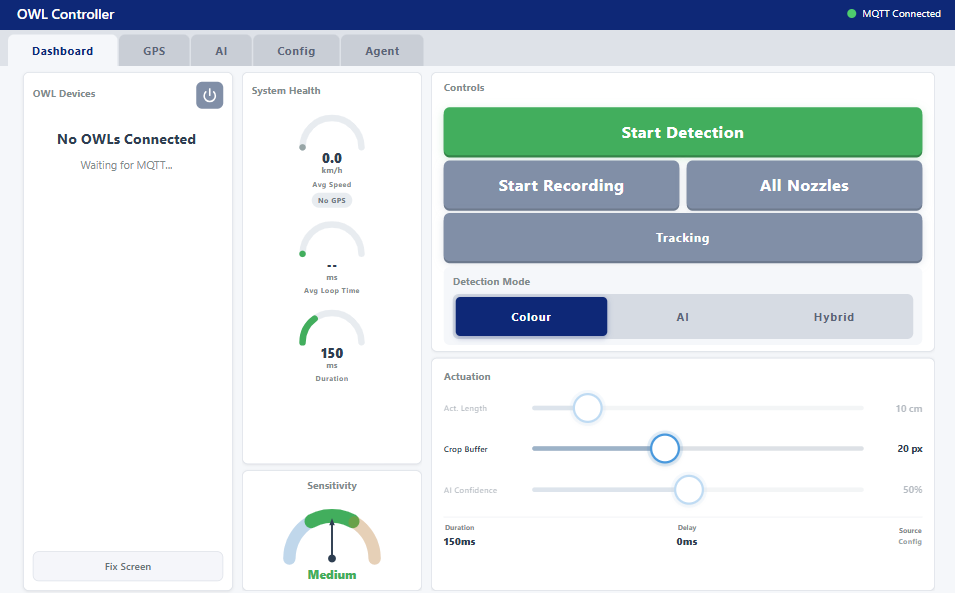
OWL units can now be configured and monitored from any browser on the local network. Two controller modes are available:
- Standalone Controller – lightweight dashboard for single OWL units, running directly on the Raspberry Pi. The OWL acts as its own MQTT broker.
- Networked Controller – central hub for managing multiple OWL units simultaneously from a laptop or tablet in the tractor cab. This requires the user of some networking hardware on a targeted application system.
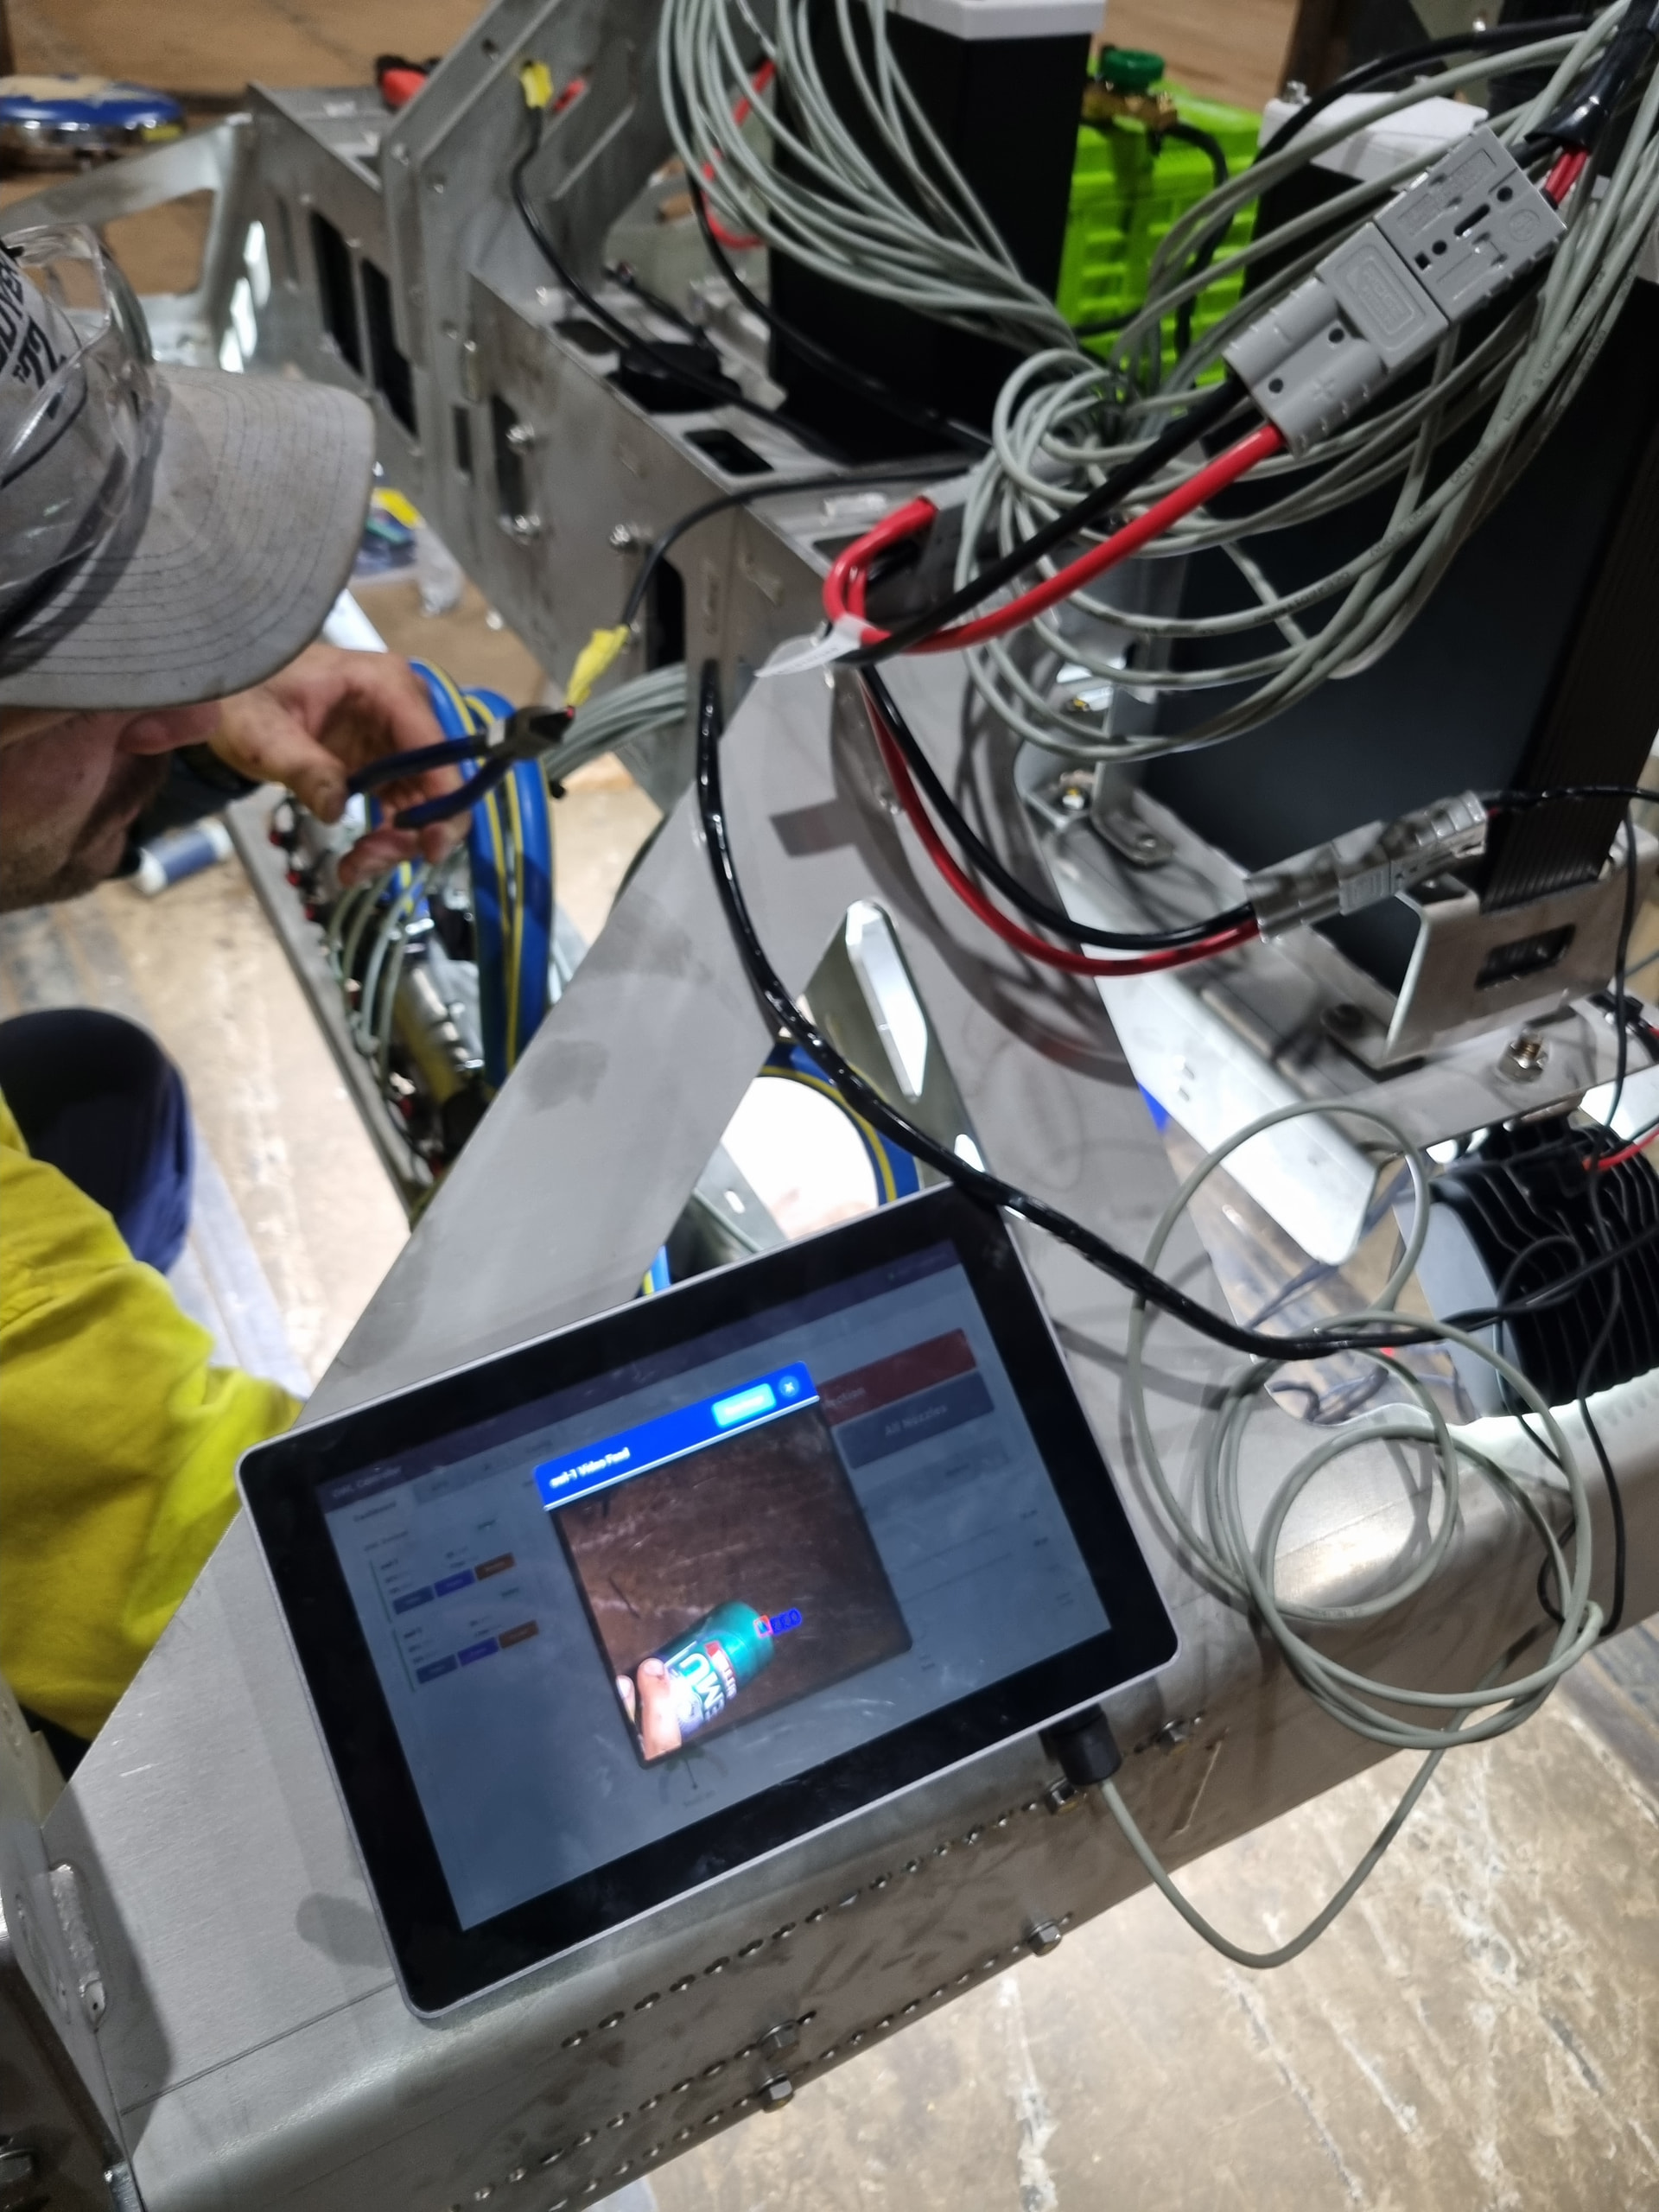
Both controllers feature a touch-friendly interface designed for use in tractors – large buttons, range sliders for threshold adjustment, and an on-screen numpads. Tabs for OWL Status, GPS, model configuration, Agent (beta) and full config editing are available.
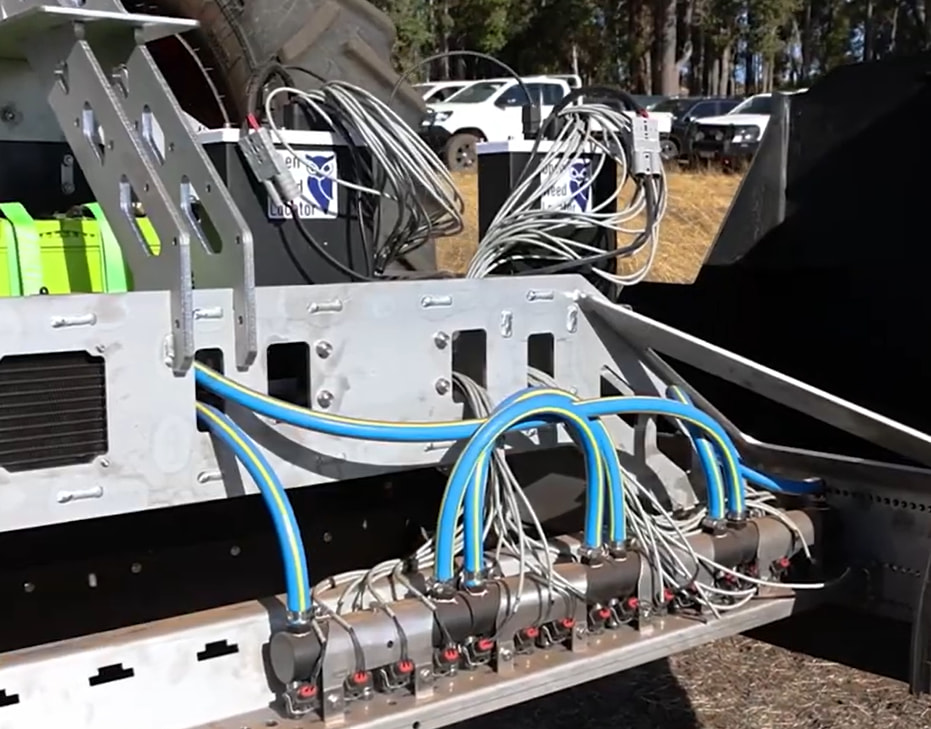
These are also in use on a tractor/vegetables system in Western Australia.
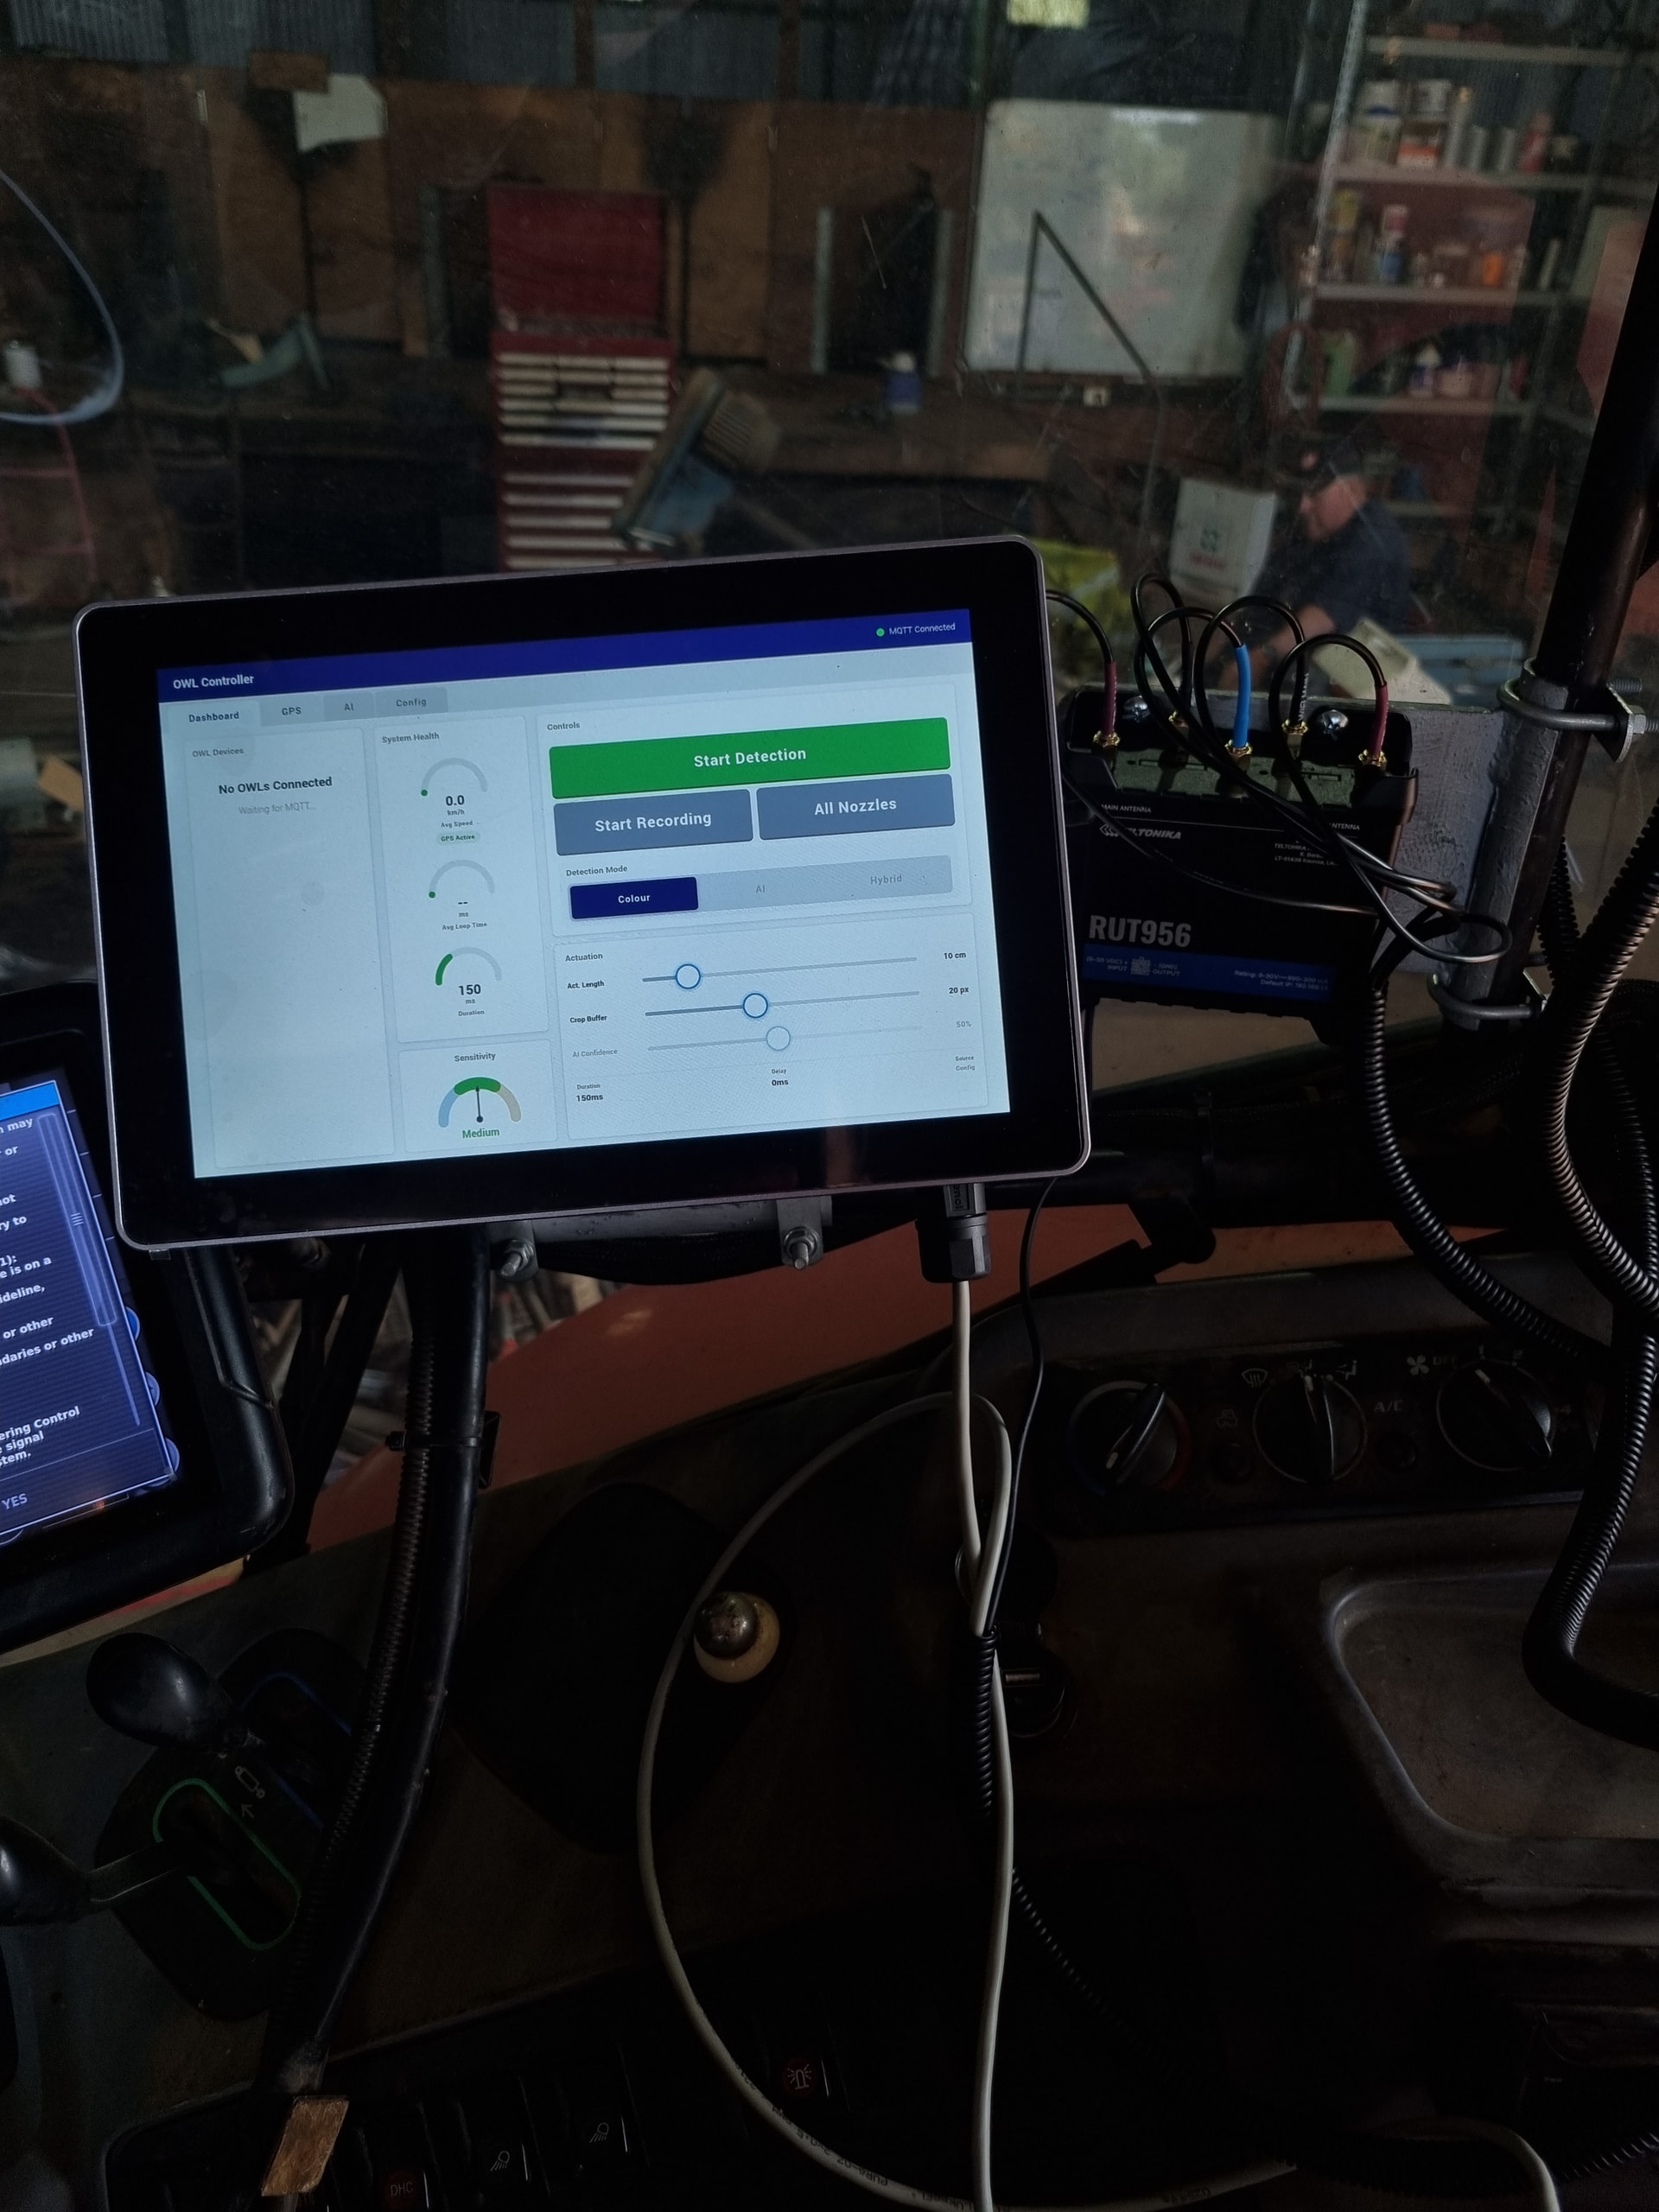
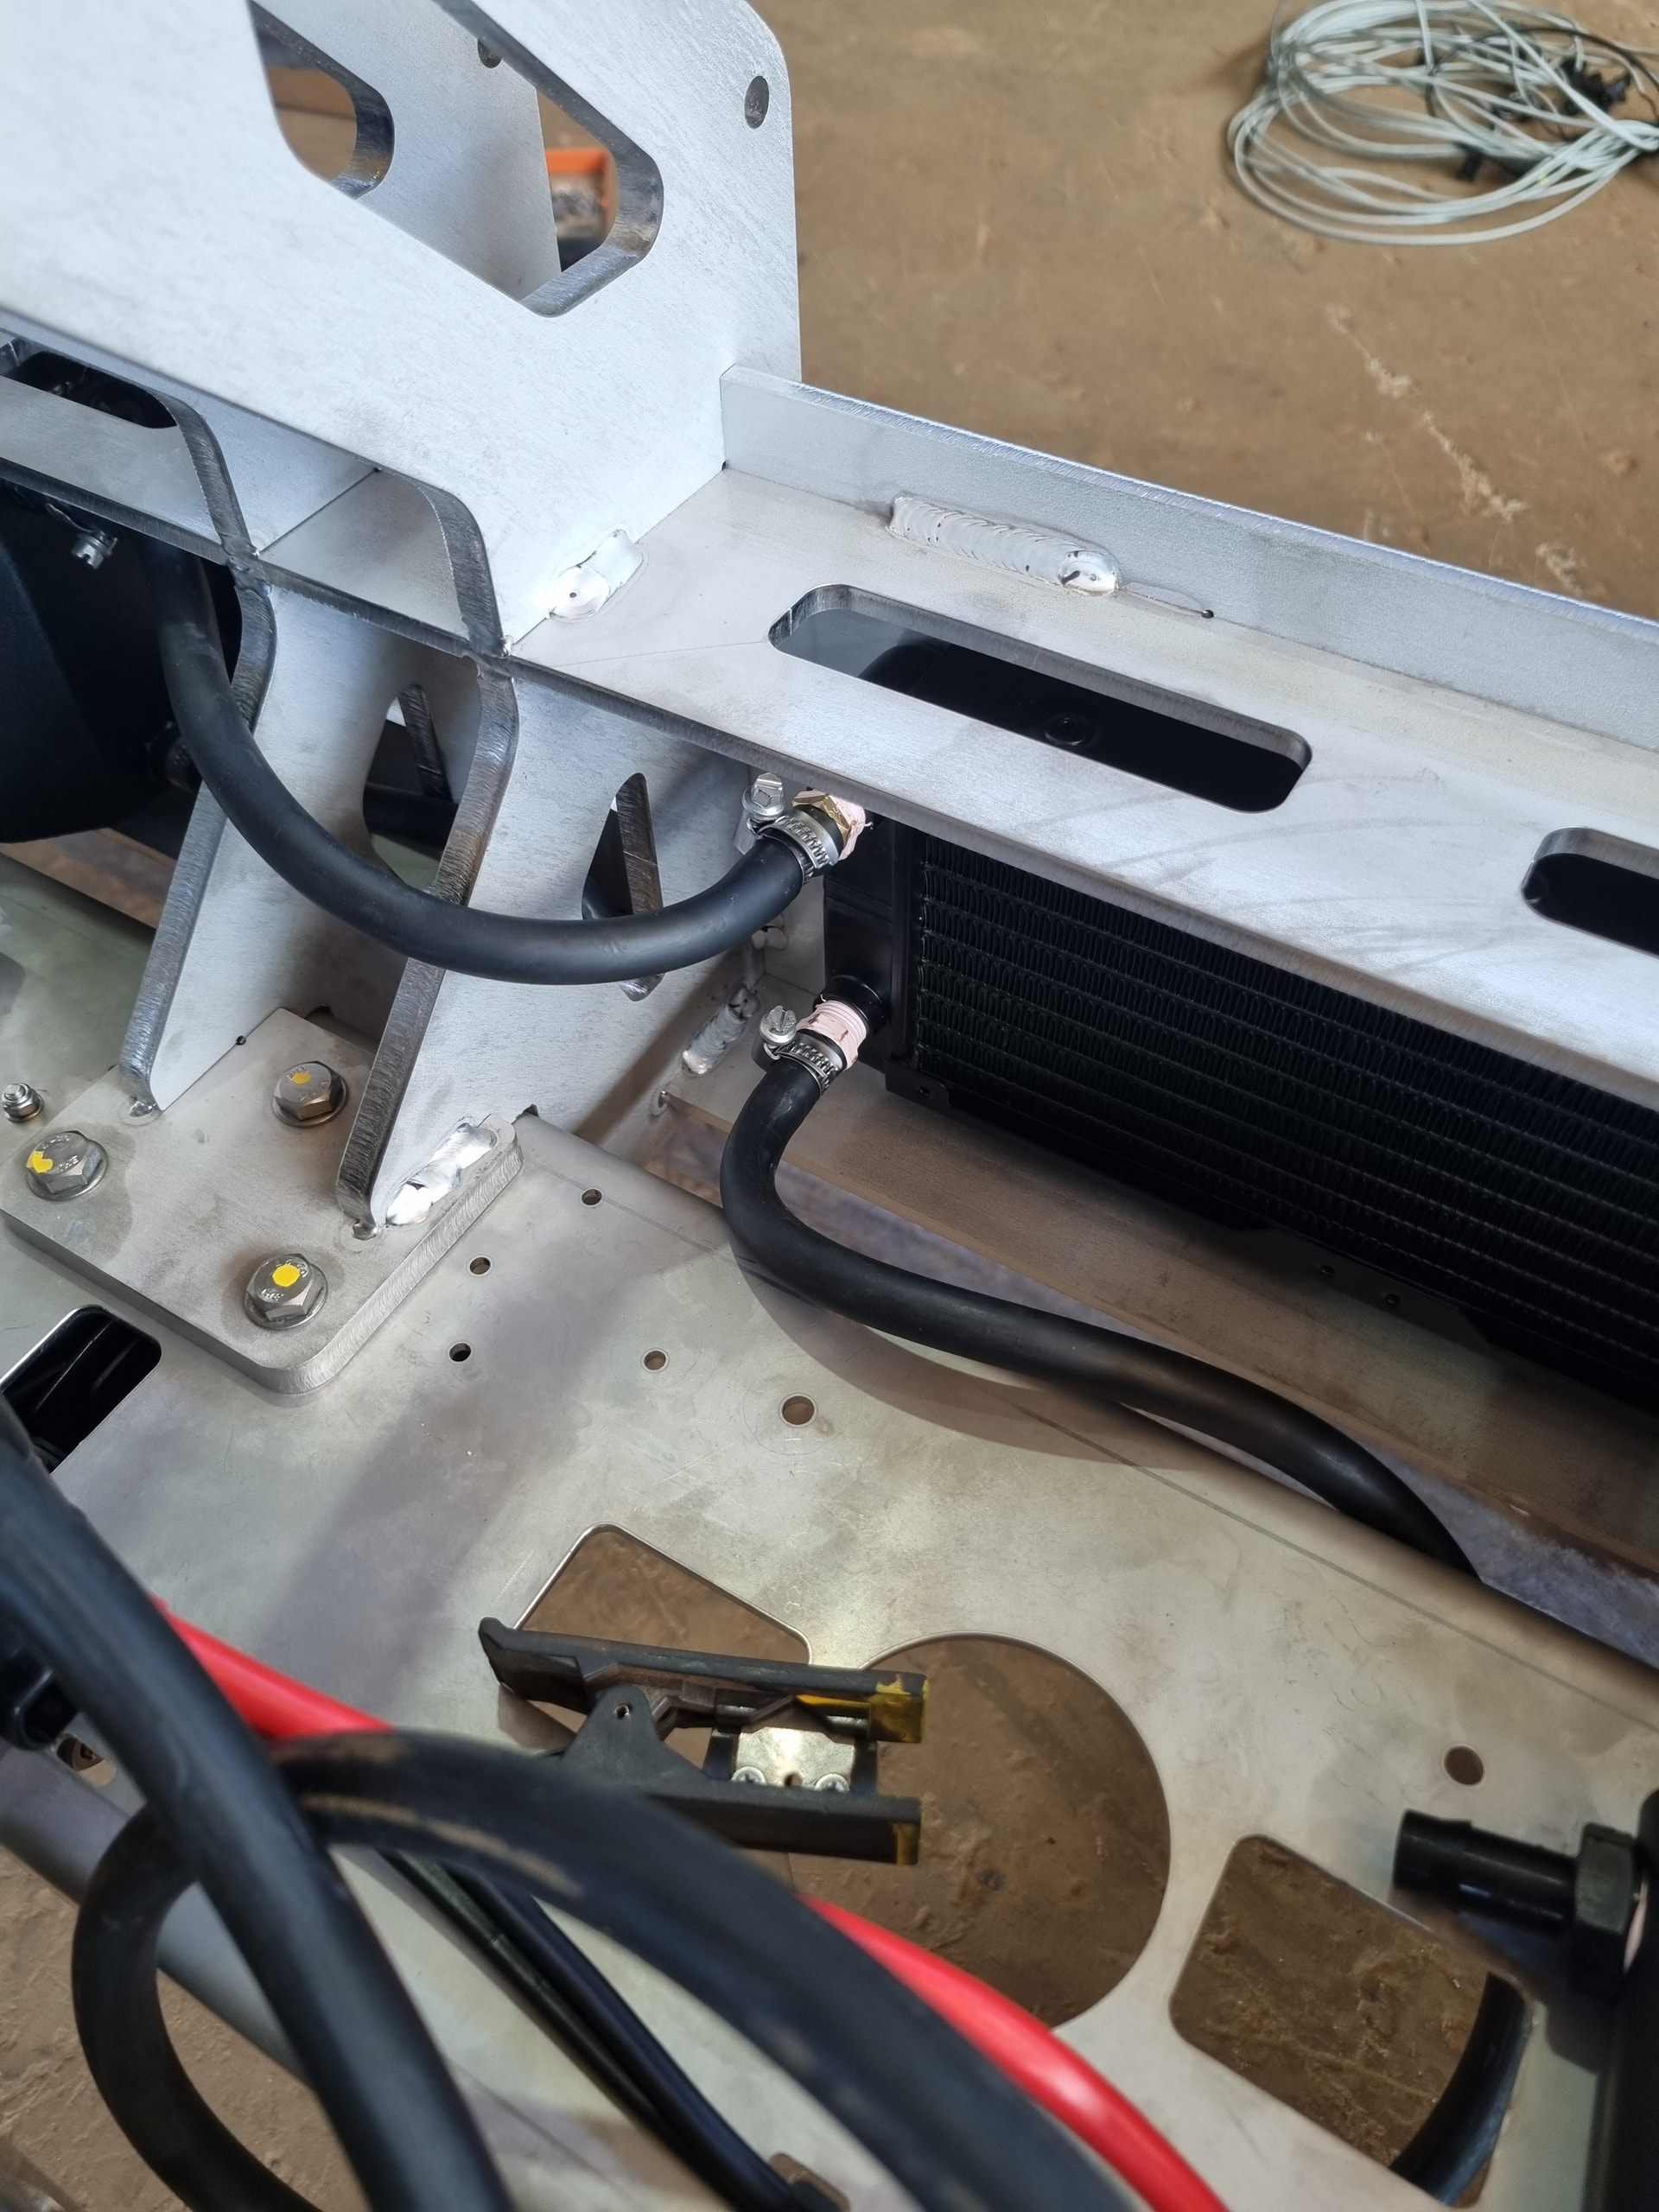
You can see a video of the field day here. This system is also running YOLO26 segmentation models directly on the Pi itself with water cooling to manage heat. It stayed a cool 33C even with a black hood and when temperature was around 40C.
Green-on-Green Weed Detection
Support for in-crop weed detection using Ultralytics YOLO models. Both PyTorch (.pt) and NCNN (.zip) model formats are supported, with NCNN recommended for Raspberry Pi deployment (~3-5x faster than PyTorch on ARM). This is not hardware supported (yet) but allows running nano sized models at 10 to 25FPS, depending on image size.
A new hybrid detection mode combines YOLO crop masking with full-resolution ExHSV colour detection – YOLO identifies and masks crop areas at low resolution, while ExHSV detects weeds in the remaining areas at full resolution. Both run in parallel for minimal overhead.
Models can be uploaded via the web interface and deployed to multiple OWL units over the network with real-time progress tracking.
GPS Integration & Speed-Adaptive Actuation
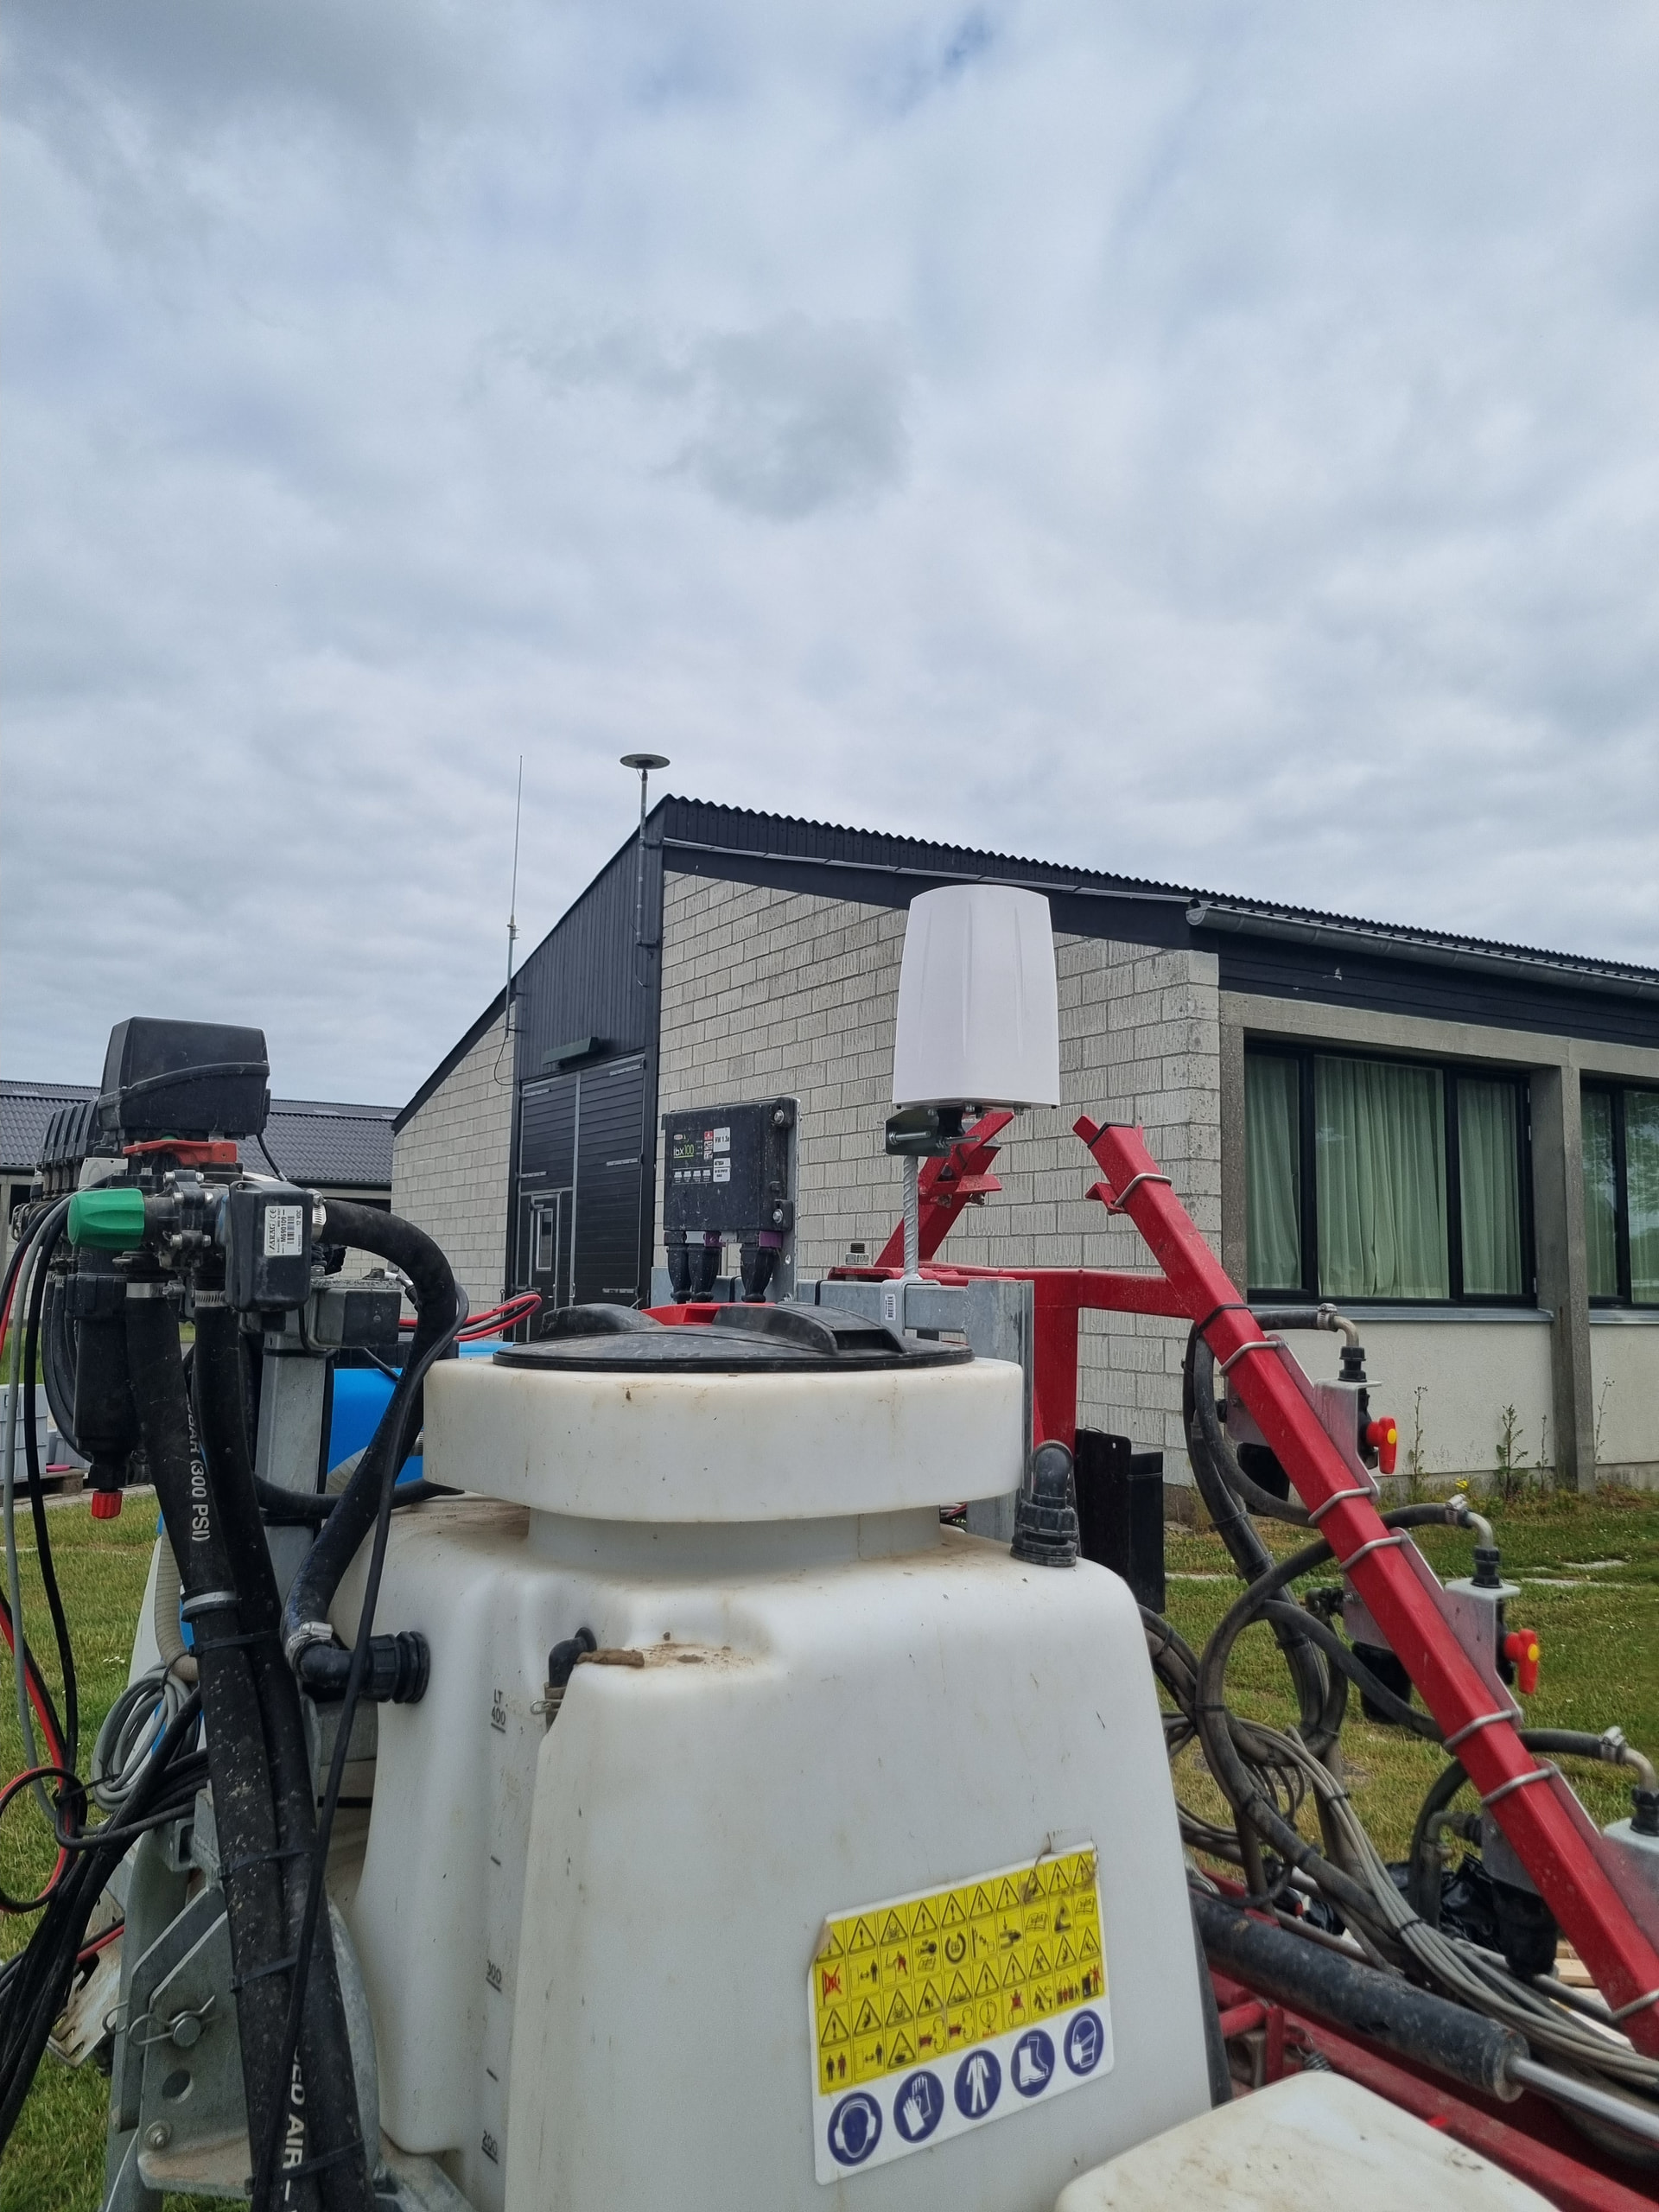
OWL now accepts NMEA GPS data (via TCP from Teltonika routers or serial from USB GPS modules). The system tracks position, speed, heading, and accumulates session statistics (distance, area in hectares, time).
When GPS speed data is available, the networked controller automatically calculates optimal nozzle actuation timing based on ground speed, camera-to-nozzle offset, and spray patch length. This replaces fixed timing values with dynamic calculations that adapt as the tractor speeds up or slows down.
New Features
Detection & AI
- YOLO model support with hot-swap capability (change models without restarting)
- Hybrid detection pipeline (YOLO crop mask + ExHSV colour detection, parallel execution)
- Class filtering – select which detected classes trigger actuation via the AI tab
- ByteTrack weed tracking with class smoothing and crop mask stabilisation
- Custom algorithm support – user-defined detection algorithms with AST-validated sandboxed execution
- Sensitivity presets (Low/Medium/High + custom) embedded in config, switchable at runtime
Controllers & UI
- Standalone web dashboard for single-unit monitoring and control
- Networked controller for multi-OWL fleet management via MQTT
- Touch-friendly config editor with dual-knob range sliders, numpad input, dropdown presets
- Live MJPEG video preview in the config editor for real-time threshold tuning
- “All Nozzles” blanket spray mode – one-tap to activate all relays without detection
- AI tab with model selector, class button grid, confidence controls
GPS & Navigation
- NMEA GPS parsing (TCP from Teltonika router, serial from USB GPS)
- Session statistics – distance, area (hectares), time, average speed
- GeoJSON track recording with timestamps and metadata
- Speed-adaptive actuation – nozzle timing calculated from GPS ground speed in real-time
Data Management
- Wireless data downloads – retrieve detection sessions over WiFi without USB drives
- Model upload & deploy – upload YOLO models via browser, deploy to OWL units over the network
- Session directory structure – organised by date and session with metadata
Infrastructure
- Systemd service management – replaces cron, auto-restarts on crash, proper startup ordering
- MQTT communication layer – full pub/sub between OWL units and controllers with LWT, reconnect, and heartbeat
- Unified config architecture – single
GENERAL_CONFIG.iniwith embedded sensitivity presets, separateCONTROLLER.inifor infrastructure - USB camera support –
camera_typeconfig option (auto/rpi/usb) for non-Pi camera hardware - Config validation – comprehensive startup validation with GPIO pin checking, boolean validation, relay conflict detection, and human-readable error messages
- Copy-on-write config persistence – protected default configs with automatic timestamped backups
- Startup resilience – graceful degradation when MQTT broker or network is unavailable
Performance
The core detection pipeline has been rewritten with in-place NumPy operations, single-pass HSV thresholding, and reduced memory allocations. Benchmarked on Raspberry Pi 5 with IMX296 global shutter camera resolutions, 1000 iterations per resolution, 0-50 synthetic weeds per frame. Run python benchmarks/v1_vs_current.py --rpi to reproduce.
Full Frame Loop (ExHSV algorithm — default)
| Resolution | v1 (2021) | v2 (main) | v3 (this release) | v1 FPS | v2 FPS | v3 FPS | Speedup vs v1 | Speedup vs v2 |
|---|---|---|---|---|---|---|---|---|
| 416x320 | 5.39ms | 5.03ms | 3.52ms | 186 | 199 | 284 | 1.53x | 1.43x |
| 512x384 | 8.04ms | 7.61ms | 5.67ms | 124 | 132 | 176 | 1.42x | 1.34x |
| 640x480 | 12.88ms | 12.23ms | 9.39ms | 78 | 82 | 106 | 1.37x | 1.30x |
| 728x544 | 16.80ms | 16.12ms | 12.55ms | 60 | 62 | 80 | 1.34x | 1.28x |
| 800x608 | 20.85ms | 19.97ms | 15.63ms | 48 | 50 | 64 | 1.33x | 1.28x |
| 1024x768 | 36.00ms | 34.39ms | 27.03ms | 28 | 29 | 37 | 1.33x | 1.27x |
| 1456x1088 | 68.52ms | 64.96ms | 51.33ms | 15 | 15 | 20 | 1.33x | 1.27x |
Other Benchmarks
| Metric | Result |
|---|---|
| Weed tracking overhead (10 objects) | 0.06ms median – 0.5% of 30fps budget on Pi 5 |
| Class smoothing accuracy | Reduces YOLO class flicker from 44.6% to 10.8% |
Key Optimisations
cv2.split()replaces array slicing for channel extraction- In-place NumPy operations (
np.multiply(..., out=)) eliminate intermediate allocations - Single
cv2.inRange()call on 3-channel HSV replaces 3 separate threshold + AND operations np.maximum()replacesnp.where()for zero-division guard- Set-based relay deduplication replaces per-weed loop with
time.time()calls - MAX_DETECTIONS cap (50) prevents pathological slowdown in high-weed-density frames
- Kernel creation moved to
__init__()(was per-frame in v1) - Rectangle drawing skipped when headless (no display)
Breaking Changes
The one challenge with this new release is that if you are running the old one, then you will really need to do a fresh install of Trixie and then run the setup script again. Otherwise the CRON job will still try to start each time.
There is also only one config file now for the general settings and one for the controller settings.
- Config file structure: Three
DAY_SENSITIVITY_*.inifiles replaced by singleGENERAL_CONFIG.iniwith embedded[Sensitivity_*]sections. Old config files will not work without migration. - Startup method: Cron-based startup replaced by systemd services. Run
owl_setup.shto configure. - MQTT required for controllers: The web dashboards communicate with owl.py via MQTT. Mosquitto broker must be installed (handled by setup scripts).
- Python dependencies: Flask, Gunicorn, paho-mqtt, psutil now required for dashboard features. Optional: ultralytics + NCNN for Green-on-Green detection.
Installation
Fresh install (Raspberry Pi OS Bookworm)
git clone https://github.com/geezacoleman/OpenWeedLocator owl
cd owl && bash owl_setup.sh
Upgrade from v2.x
cd ~/owl
git pull origin main
bash owl_setup.sh  # Reconfigures systemd services and installs new dependencies
Hardware Support
- Raspberry Pi 3B+, 4, 5
- Raspberry Pi Camera Module v2, v3, HQ Camera, Global Shutter Camera
- USB webcams (new in v3.0)
- Sixfab 4G/LTE HAT (with GPIO remap for pin 26 conflict)
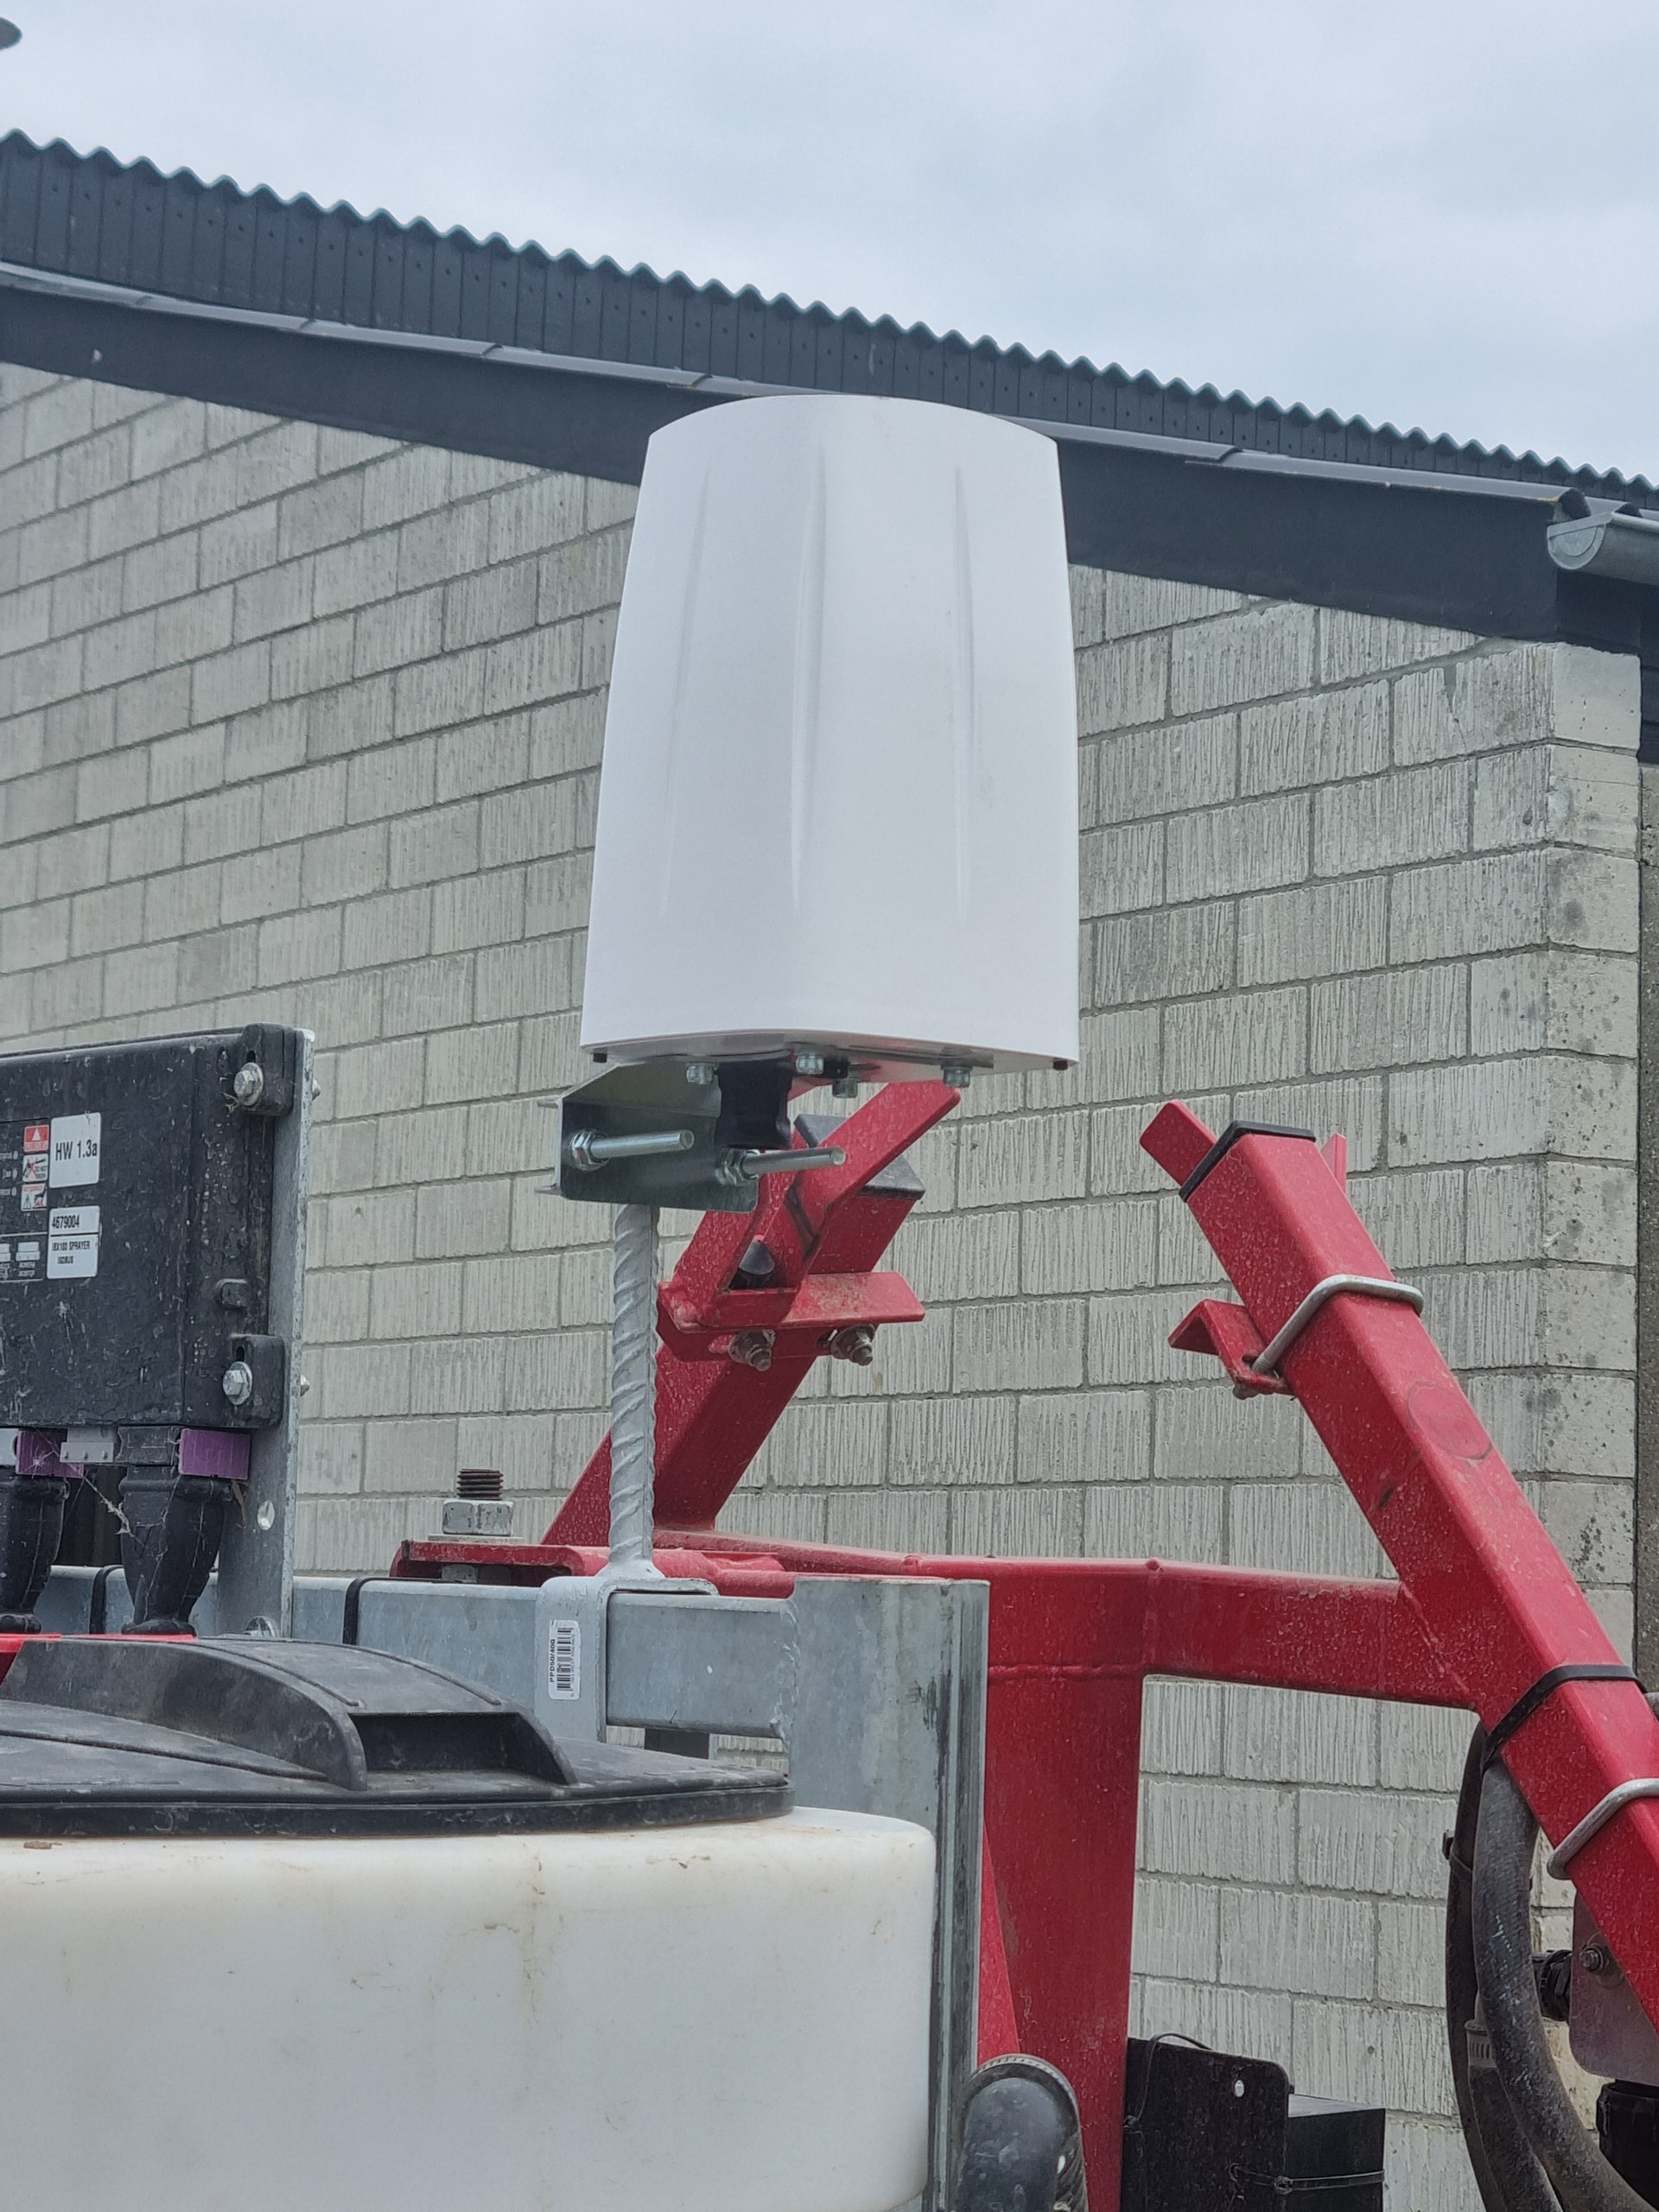
- Teltonika RUTX14 router (GPS via TCP)
- USB GPS modules (serial NMEA)
- EDATEC HMI3010 touchscreen (1280x800 target resolution)
Contributors
Thanks to everyone for all their emails, suggestions, usage of the device and feedback. It genuinely helps me shape it in the direction that suits you all! So if there is something missing, please reach out. Emails are always open.